Sony launched its Bluetooth headset SBH56 on 1 March 2019. Today, I’m going to show you step-by-step how to disassemble this device properly without breaking its body or parts.
Before starting, Let’s check out the specifications of this Bluetooth headset.
Table of Contents
SBH56 Bluetooth Headset Specification
| Brand | Sony |
|---|---|
| Type | Headset |
| Headphone Type | In-Ear |
| Connectivity | Wireless |
| Inline Remote | Yes |
| Microphone | Yes |
| Water Resistant | Yes (Before Disassembling) |
| Connector Size | 3.5mm |
| Weight (g) | 17.40 |
| Bluetooth | Yes |
| NFC | Yes |
| Speaker | Yes |
| Charging Time | 2 Hours |
You can check out the user manual for the SBH56 Wireless Headset from here.
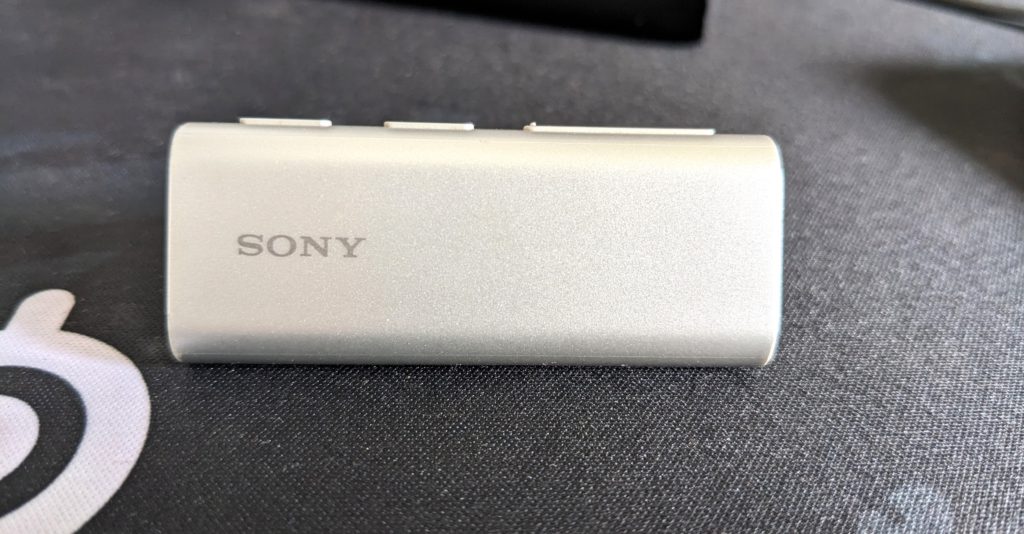
Sony Bluetooth Headset SBH56
Disassembly Preparation:
We need some tools and an SBH56 Wireless Headset before starting the procedure. The check-list is given below,
- A SBH56 Bluetooth Headset
- The Bluetooth Headset must be turned off
- 1.5 mm star screwdriver
- a pin injector
- a Tweezer
Disassembly Process:
Step 01: Remove pin:
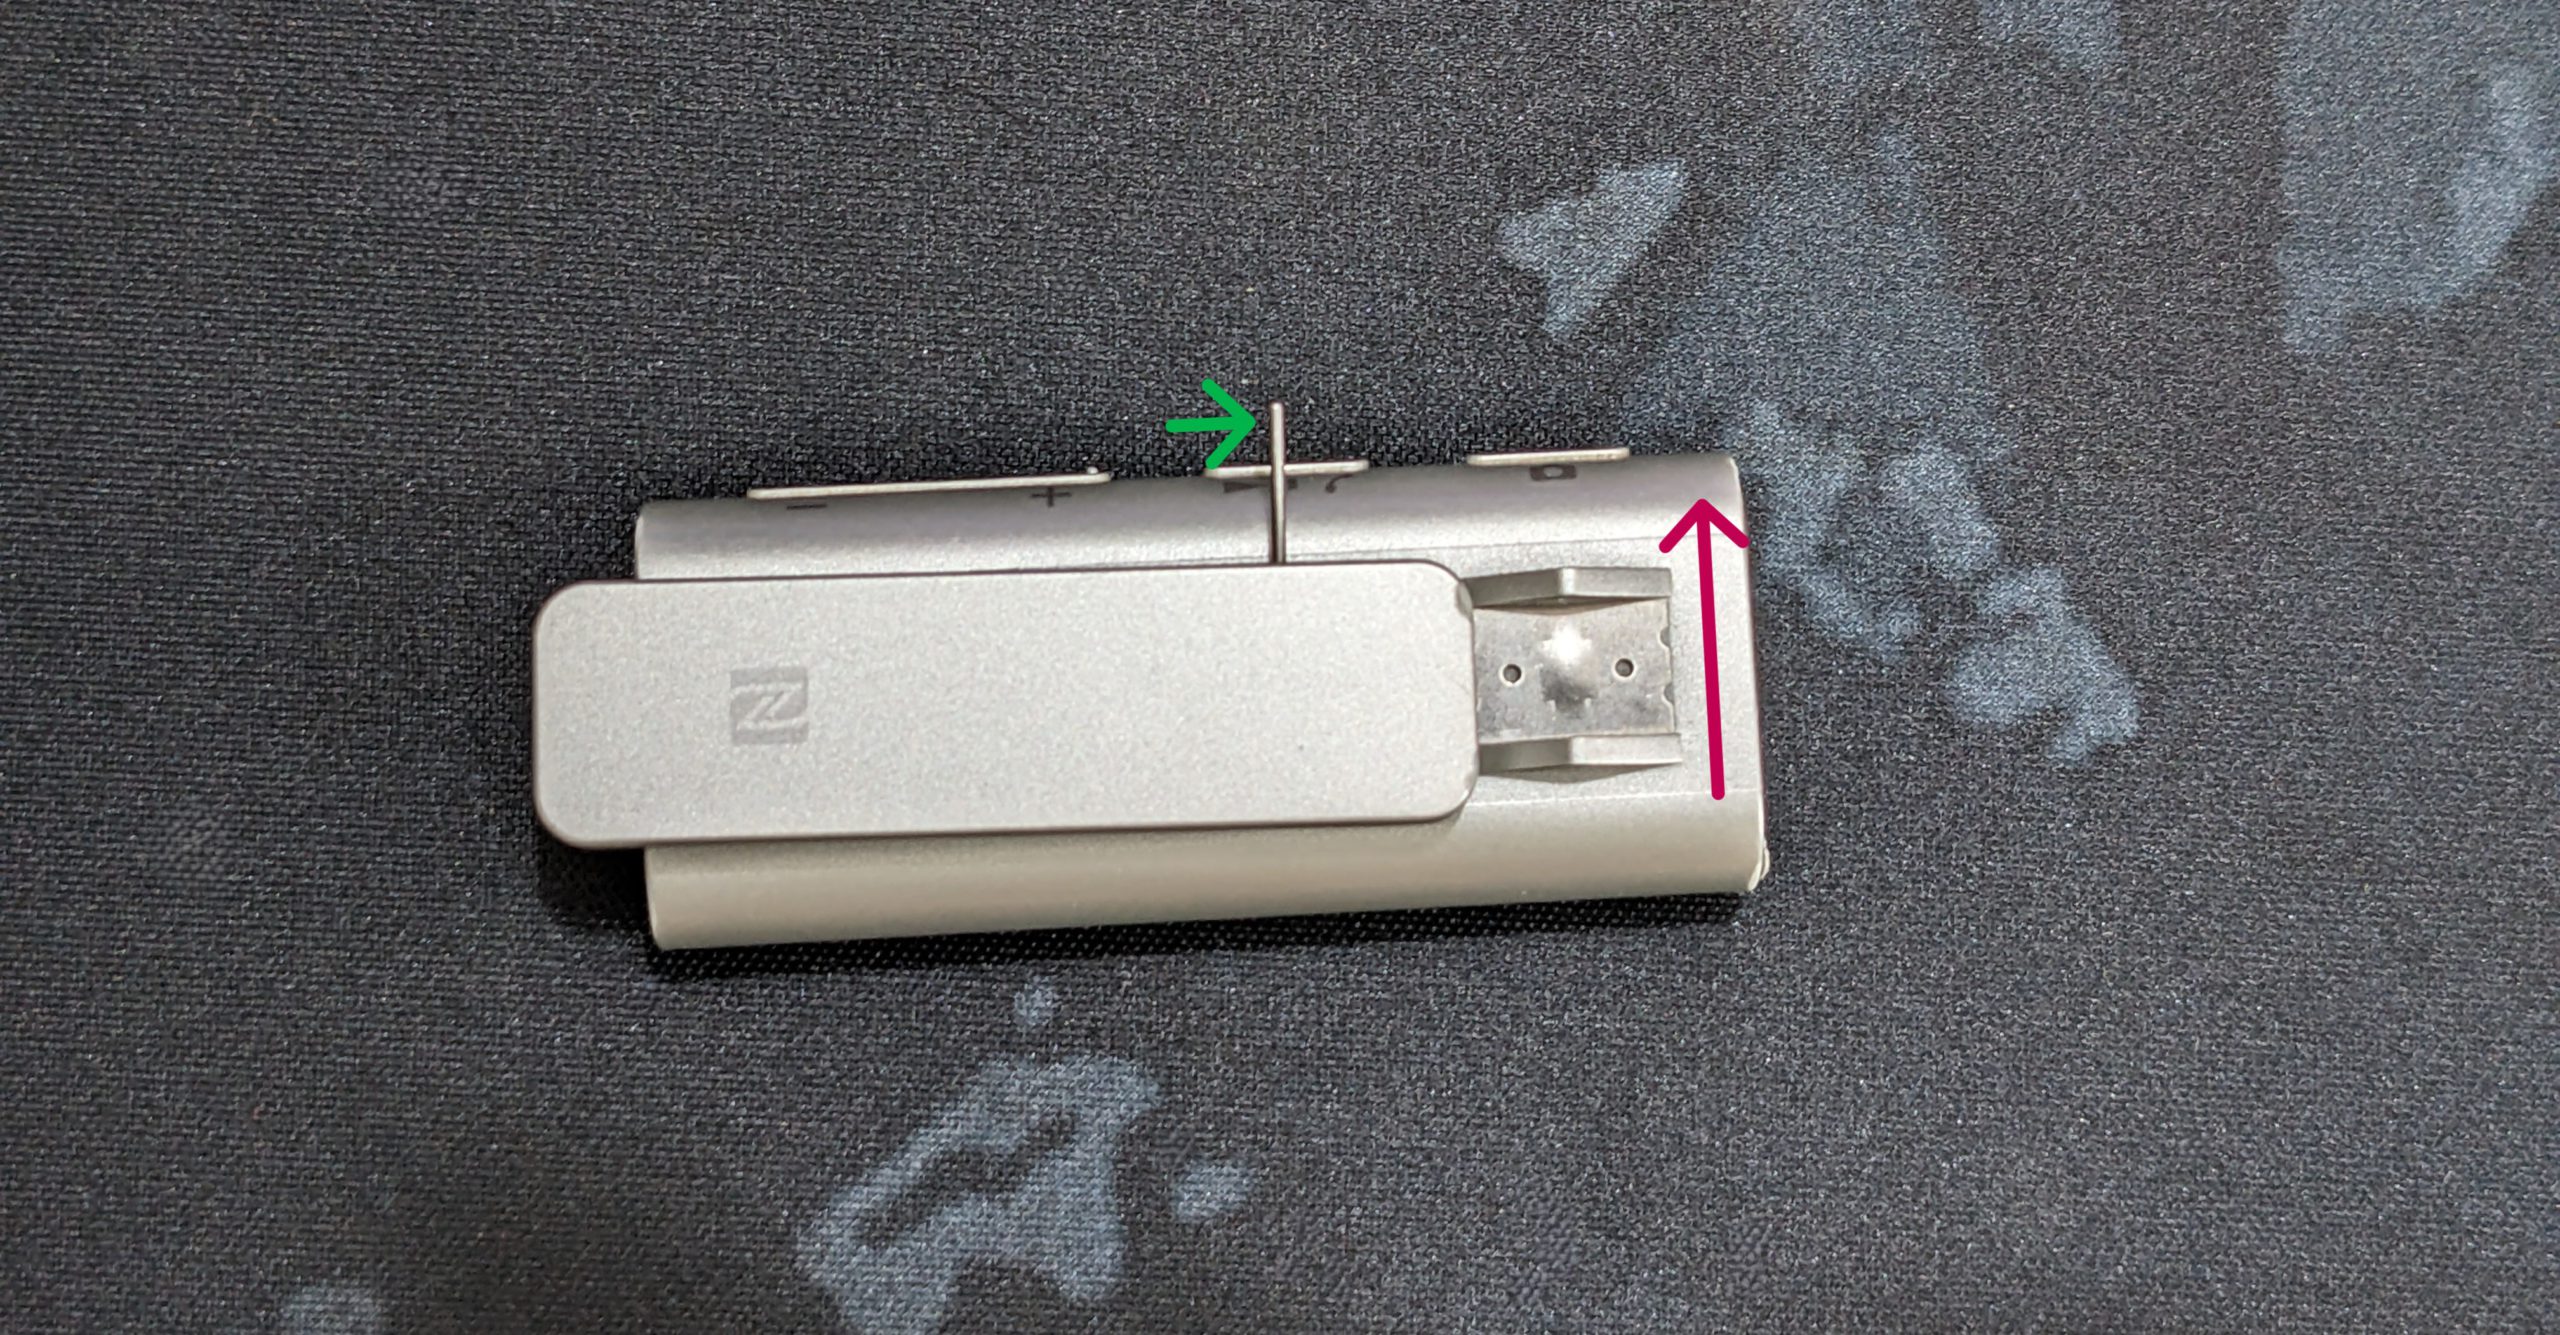
This Bluetooth Headset works like a clip to hang with a t-shirt or shirt. There is a pin on the clipping side (the downside of the Bluetooth headset), which we need to remove. Here, the Green color denotes the pin and the Purple color indicates the direction in which the pin should be removed. After removing the pin, we’ll find a spring that puts pressure on the t-shirt or shirt to hang tightly.
We’ll also find a paper after removing that pin and the handle. We need to remove that paper with the help of Tweezer to find out the Screw.
Step 02: Remove two white screws:
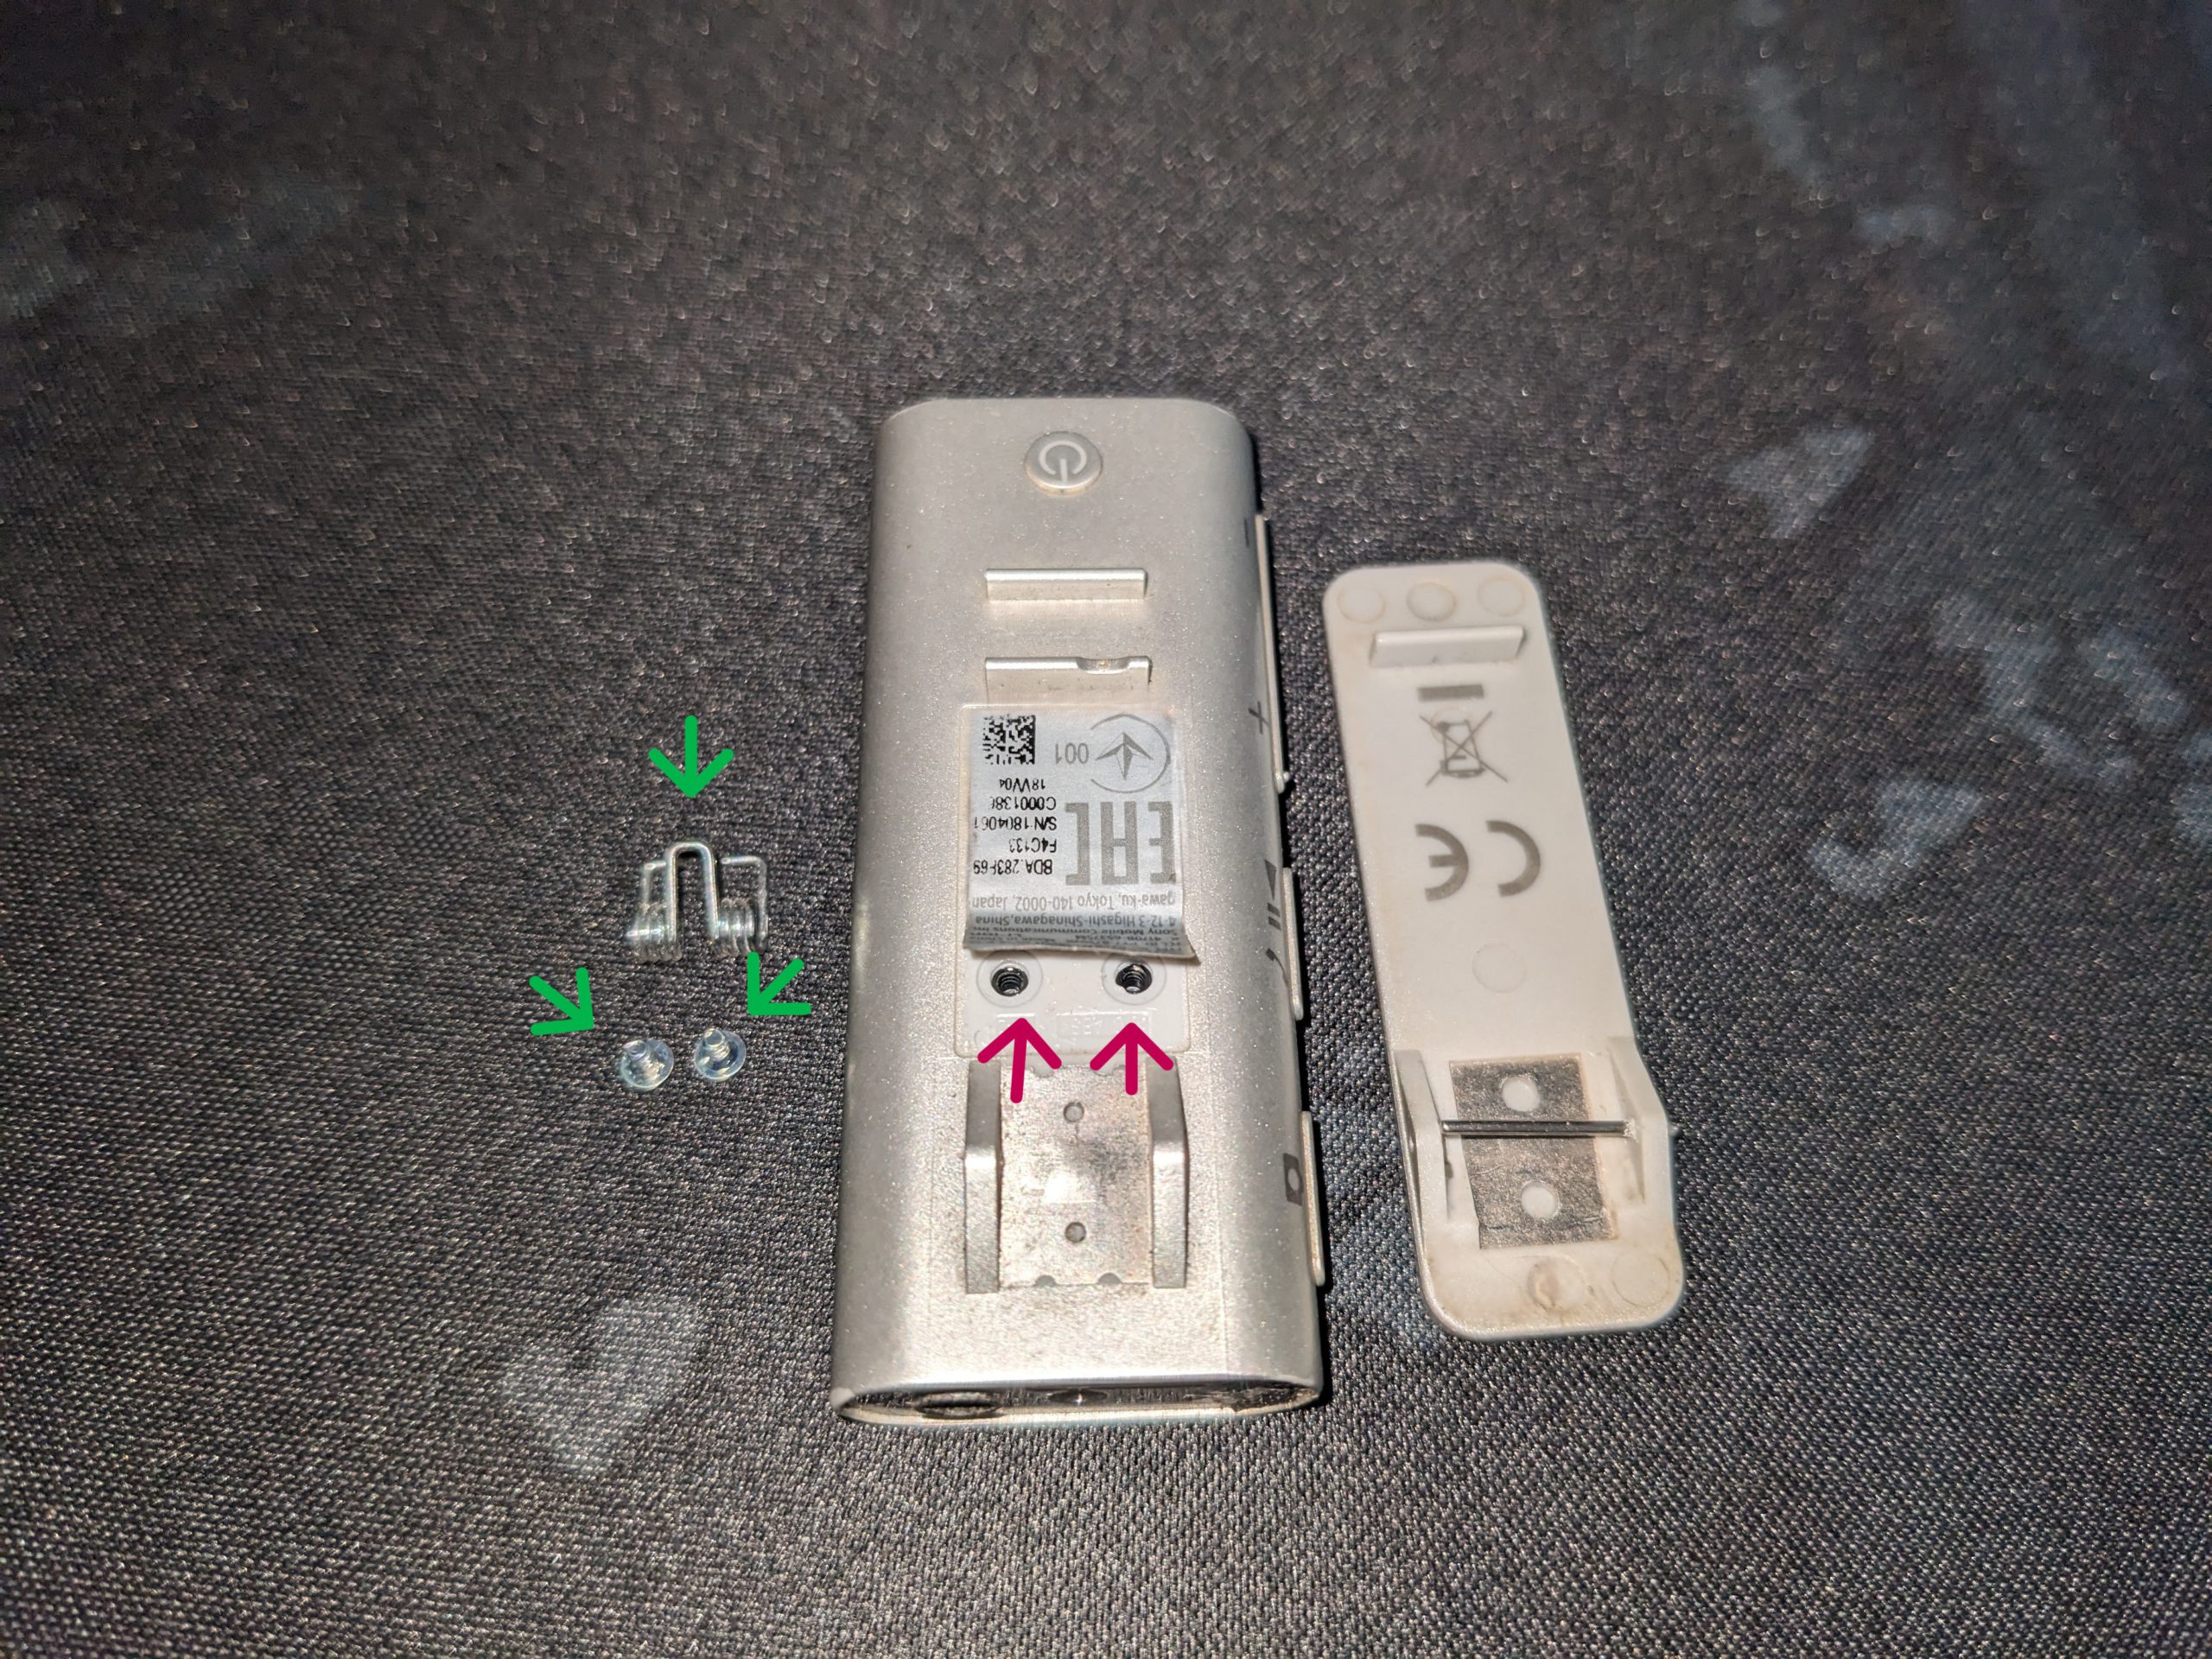
There are two silver color screws under the paper. The Green color denotes the screws and the spring and the Purple color denotes the screw position from where we must remove them with the help of a 1.5 mm Screwdriver.
Step 03: Remove the speaker grill/protector:
There is also a hidden srew under the speaker protector of the top side of the SBH56 Bluetooth Headset.
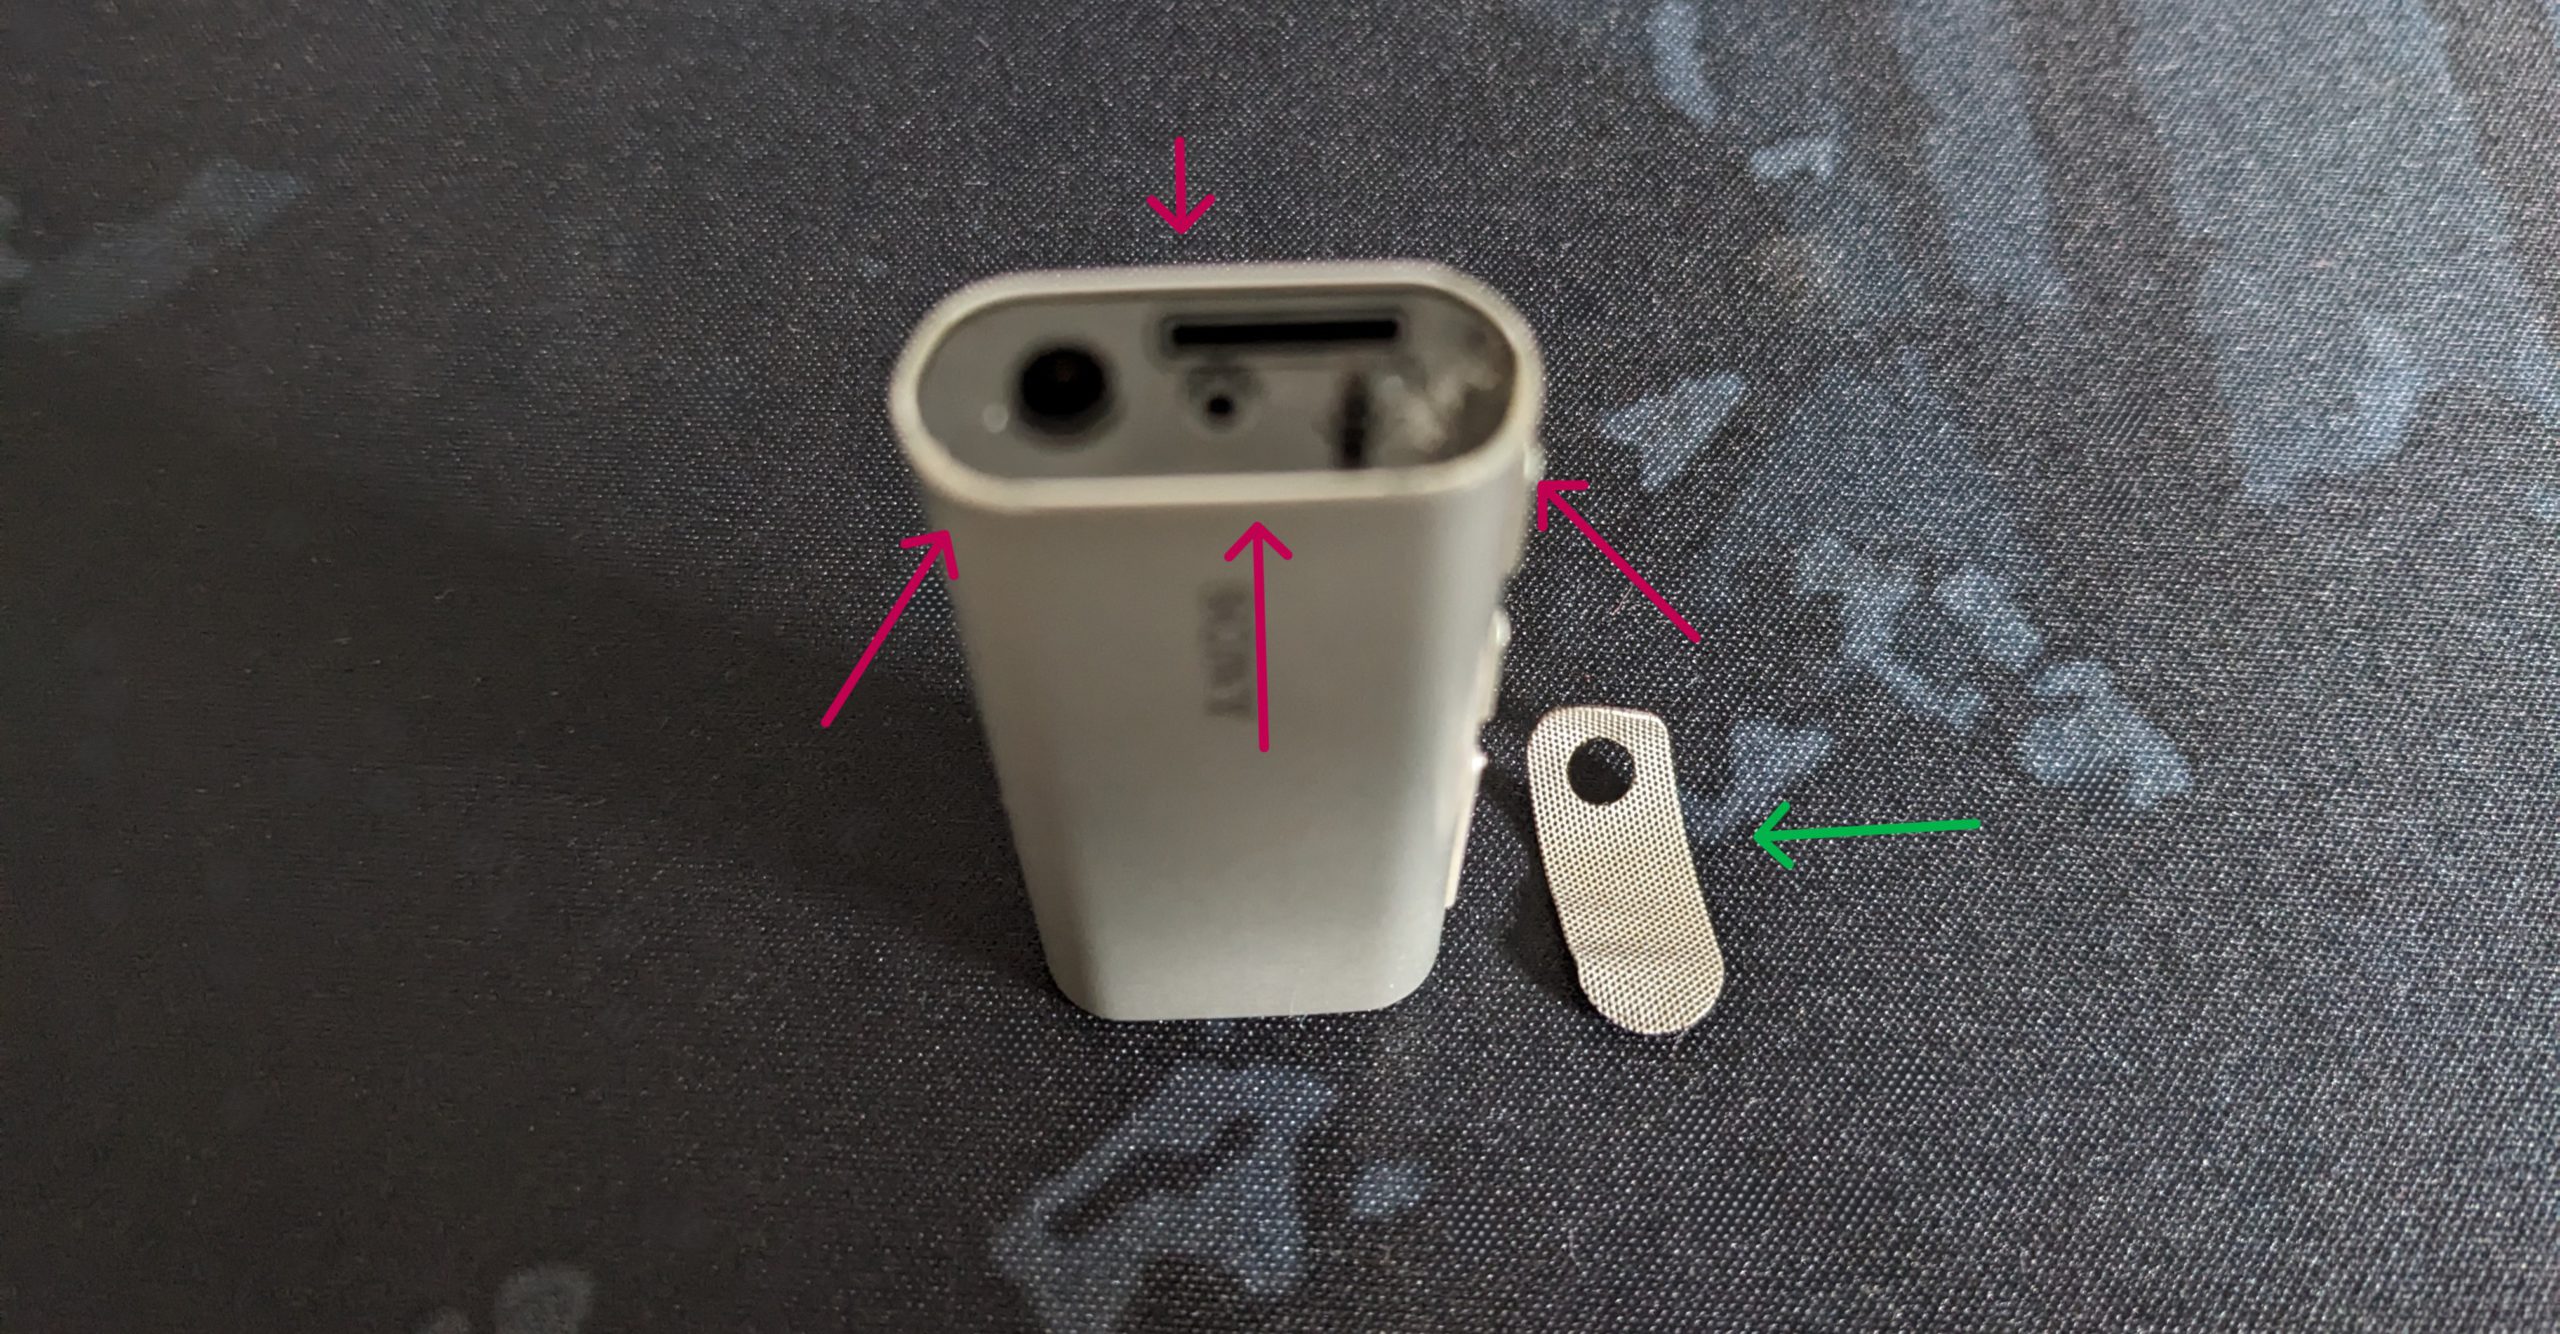
We must carefully remove the speaker protector with the help of a Tweezer from there. Here, the Purple color denotes the position of the speaker protector, whereas the Green color denotes the Speaker protector.
Step 04: Remove one black Screw:
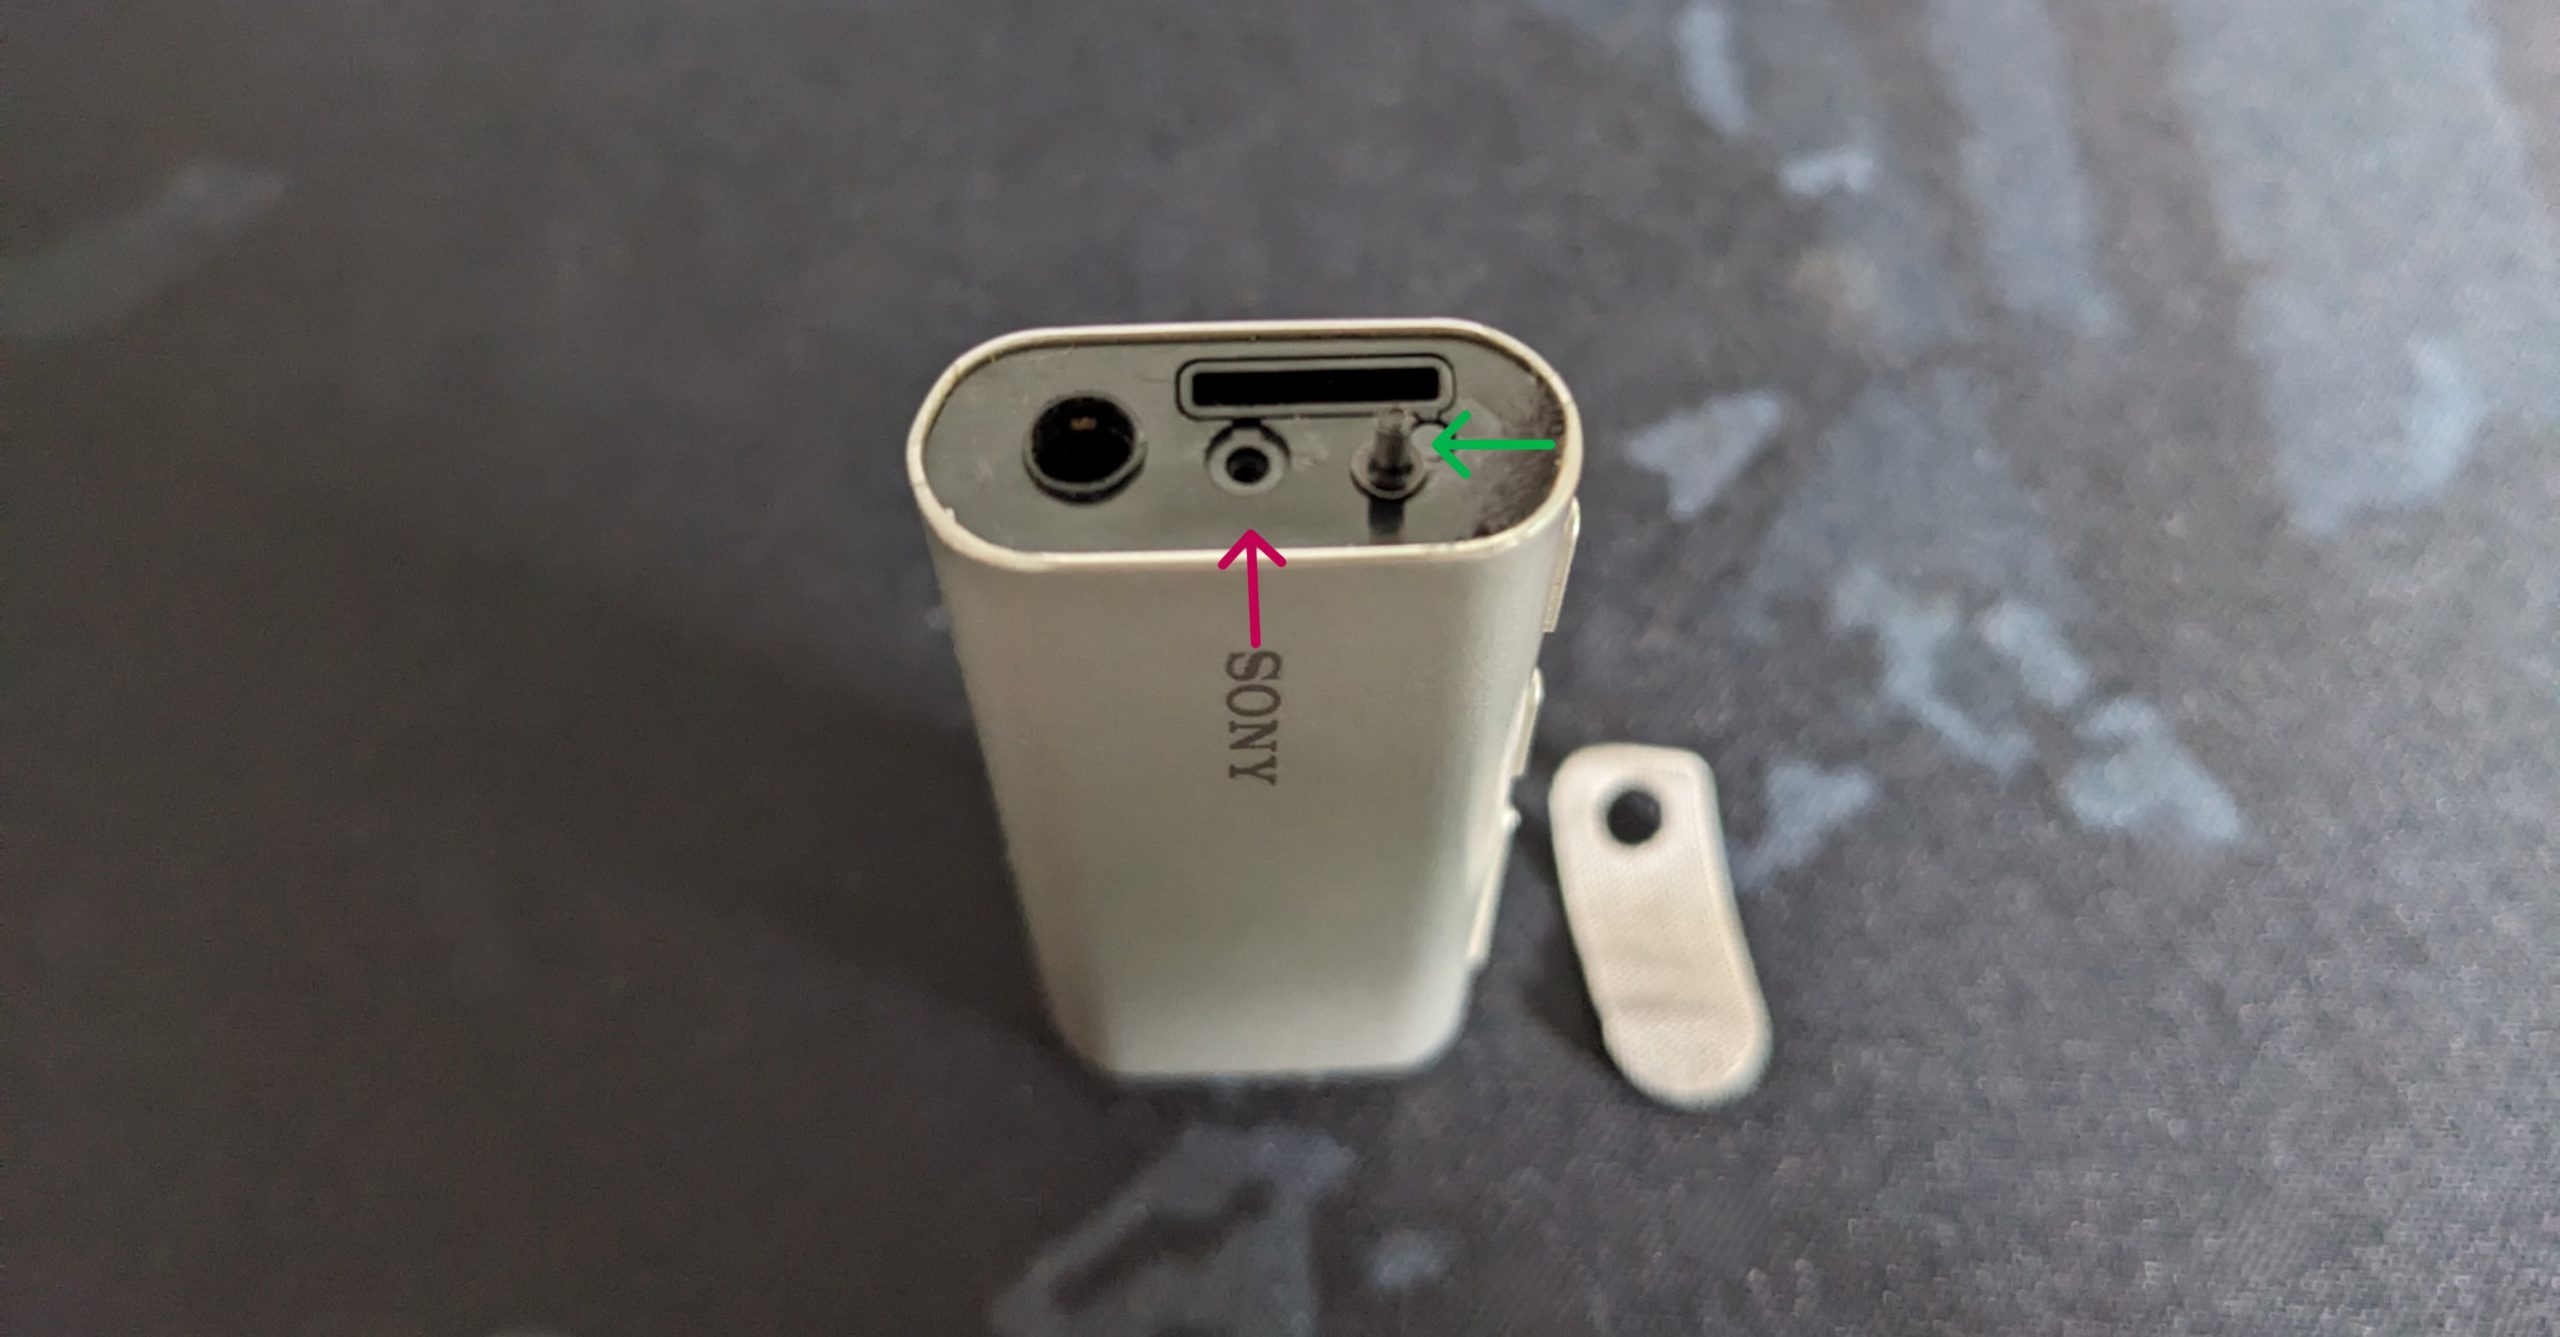
We’ll find another screw with black color under the speaker protector. We need to remove that Screw, too, with the help of a 1.5 mm Screwdriver. Here, the Green color denotes the Screw and the Purple color denotes the position of the Screw.
These are all three screws that can be accessible outside of this Bluetooth headset. Now, it’s time to discover the inside machine. Please follow the Step 05 for that.
Step 05: Pull out the inside circuit:
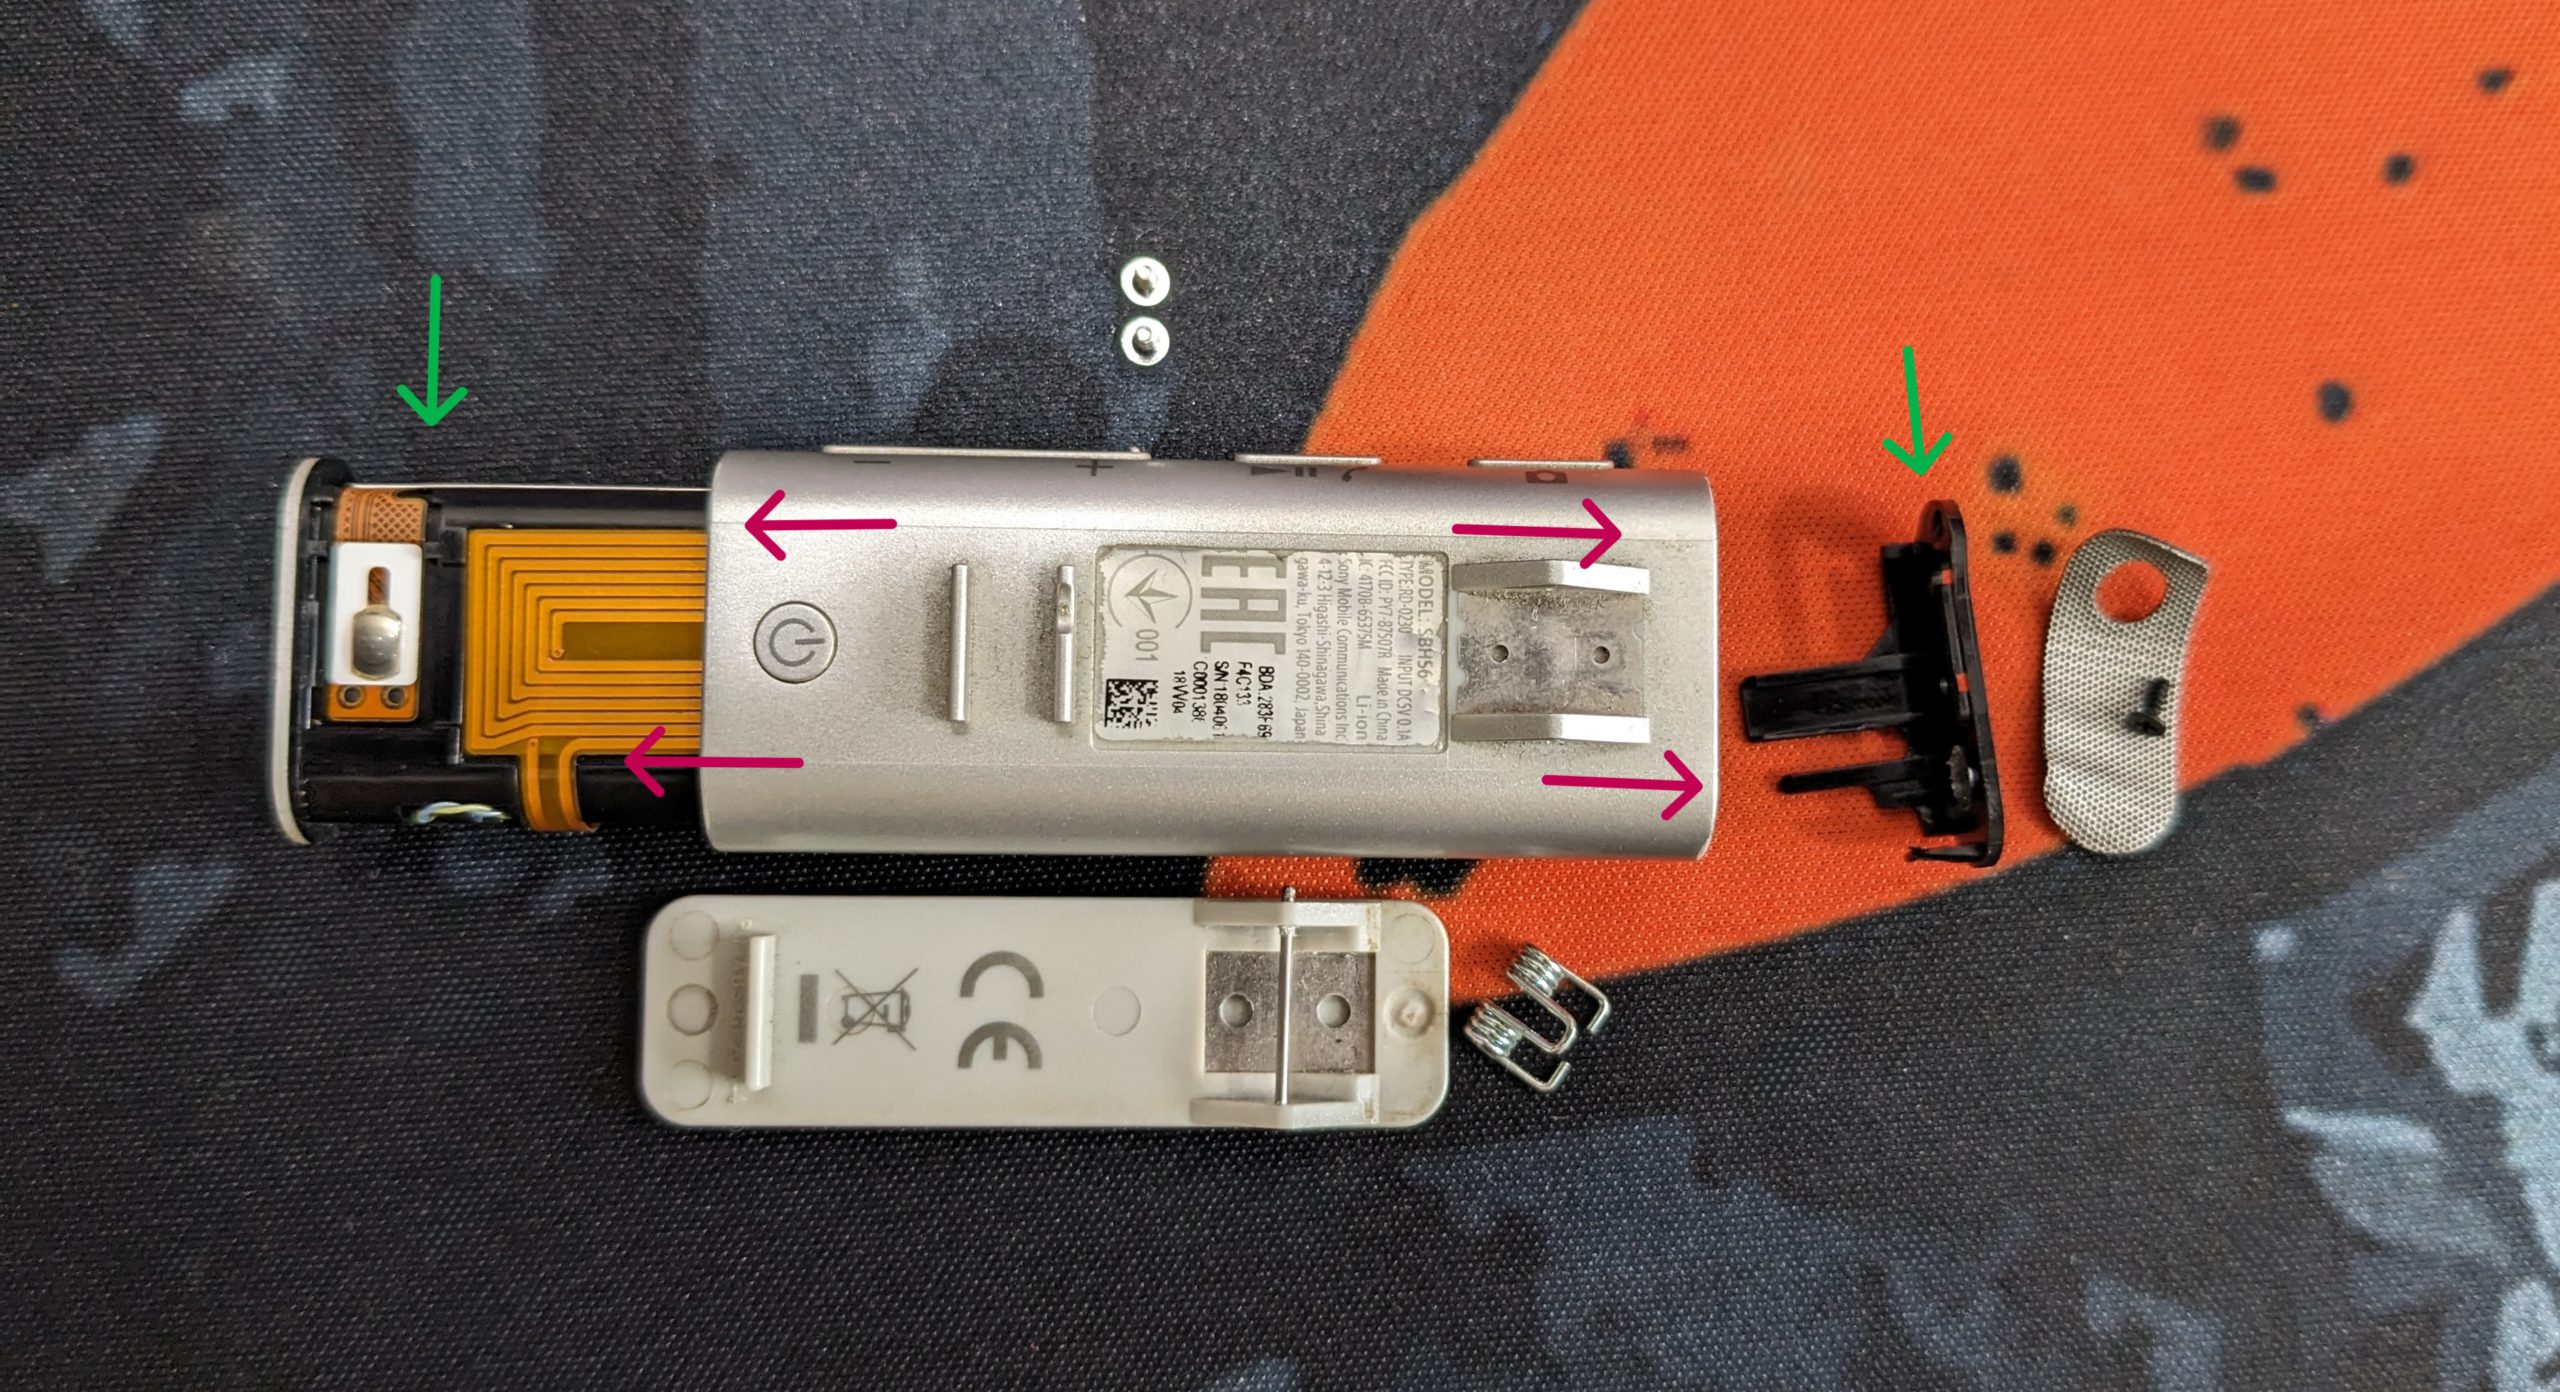
Again, the SBH56 is now showing with the downside in the displaying image. Place it the same way. Now, we need to remove the speaker cover (which was under the speaker protector.
In this image, on the right side, green denotes the speaker cover, which is actually plastic and built with black color. The purple color indicates the direction in which to pull that speaker cover. We must pull it carefully so that it won’t be broken.
The Inner section (the whole functional hidden machine) is displayed on the left side of the image. The Purple color denotes the direction to pull. We push it from the other side (right side). Green indicates the circuit/ main machine.
Discover What Inside:
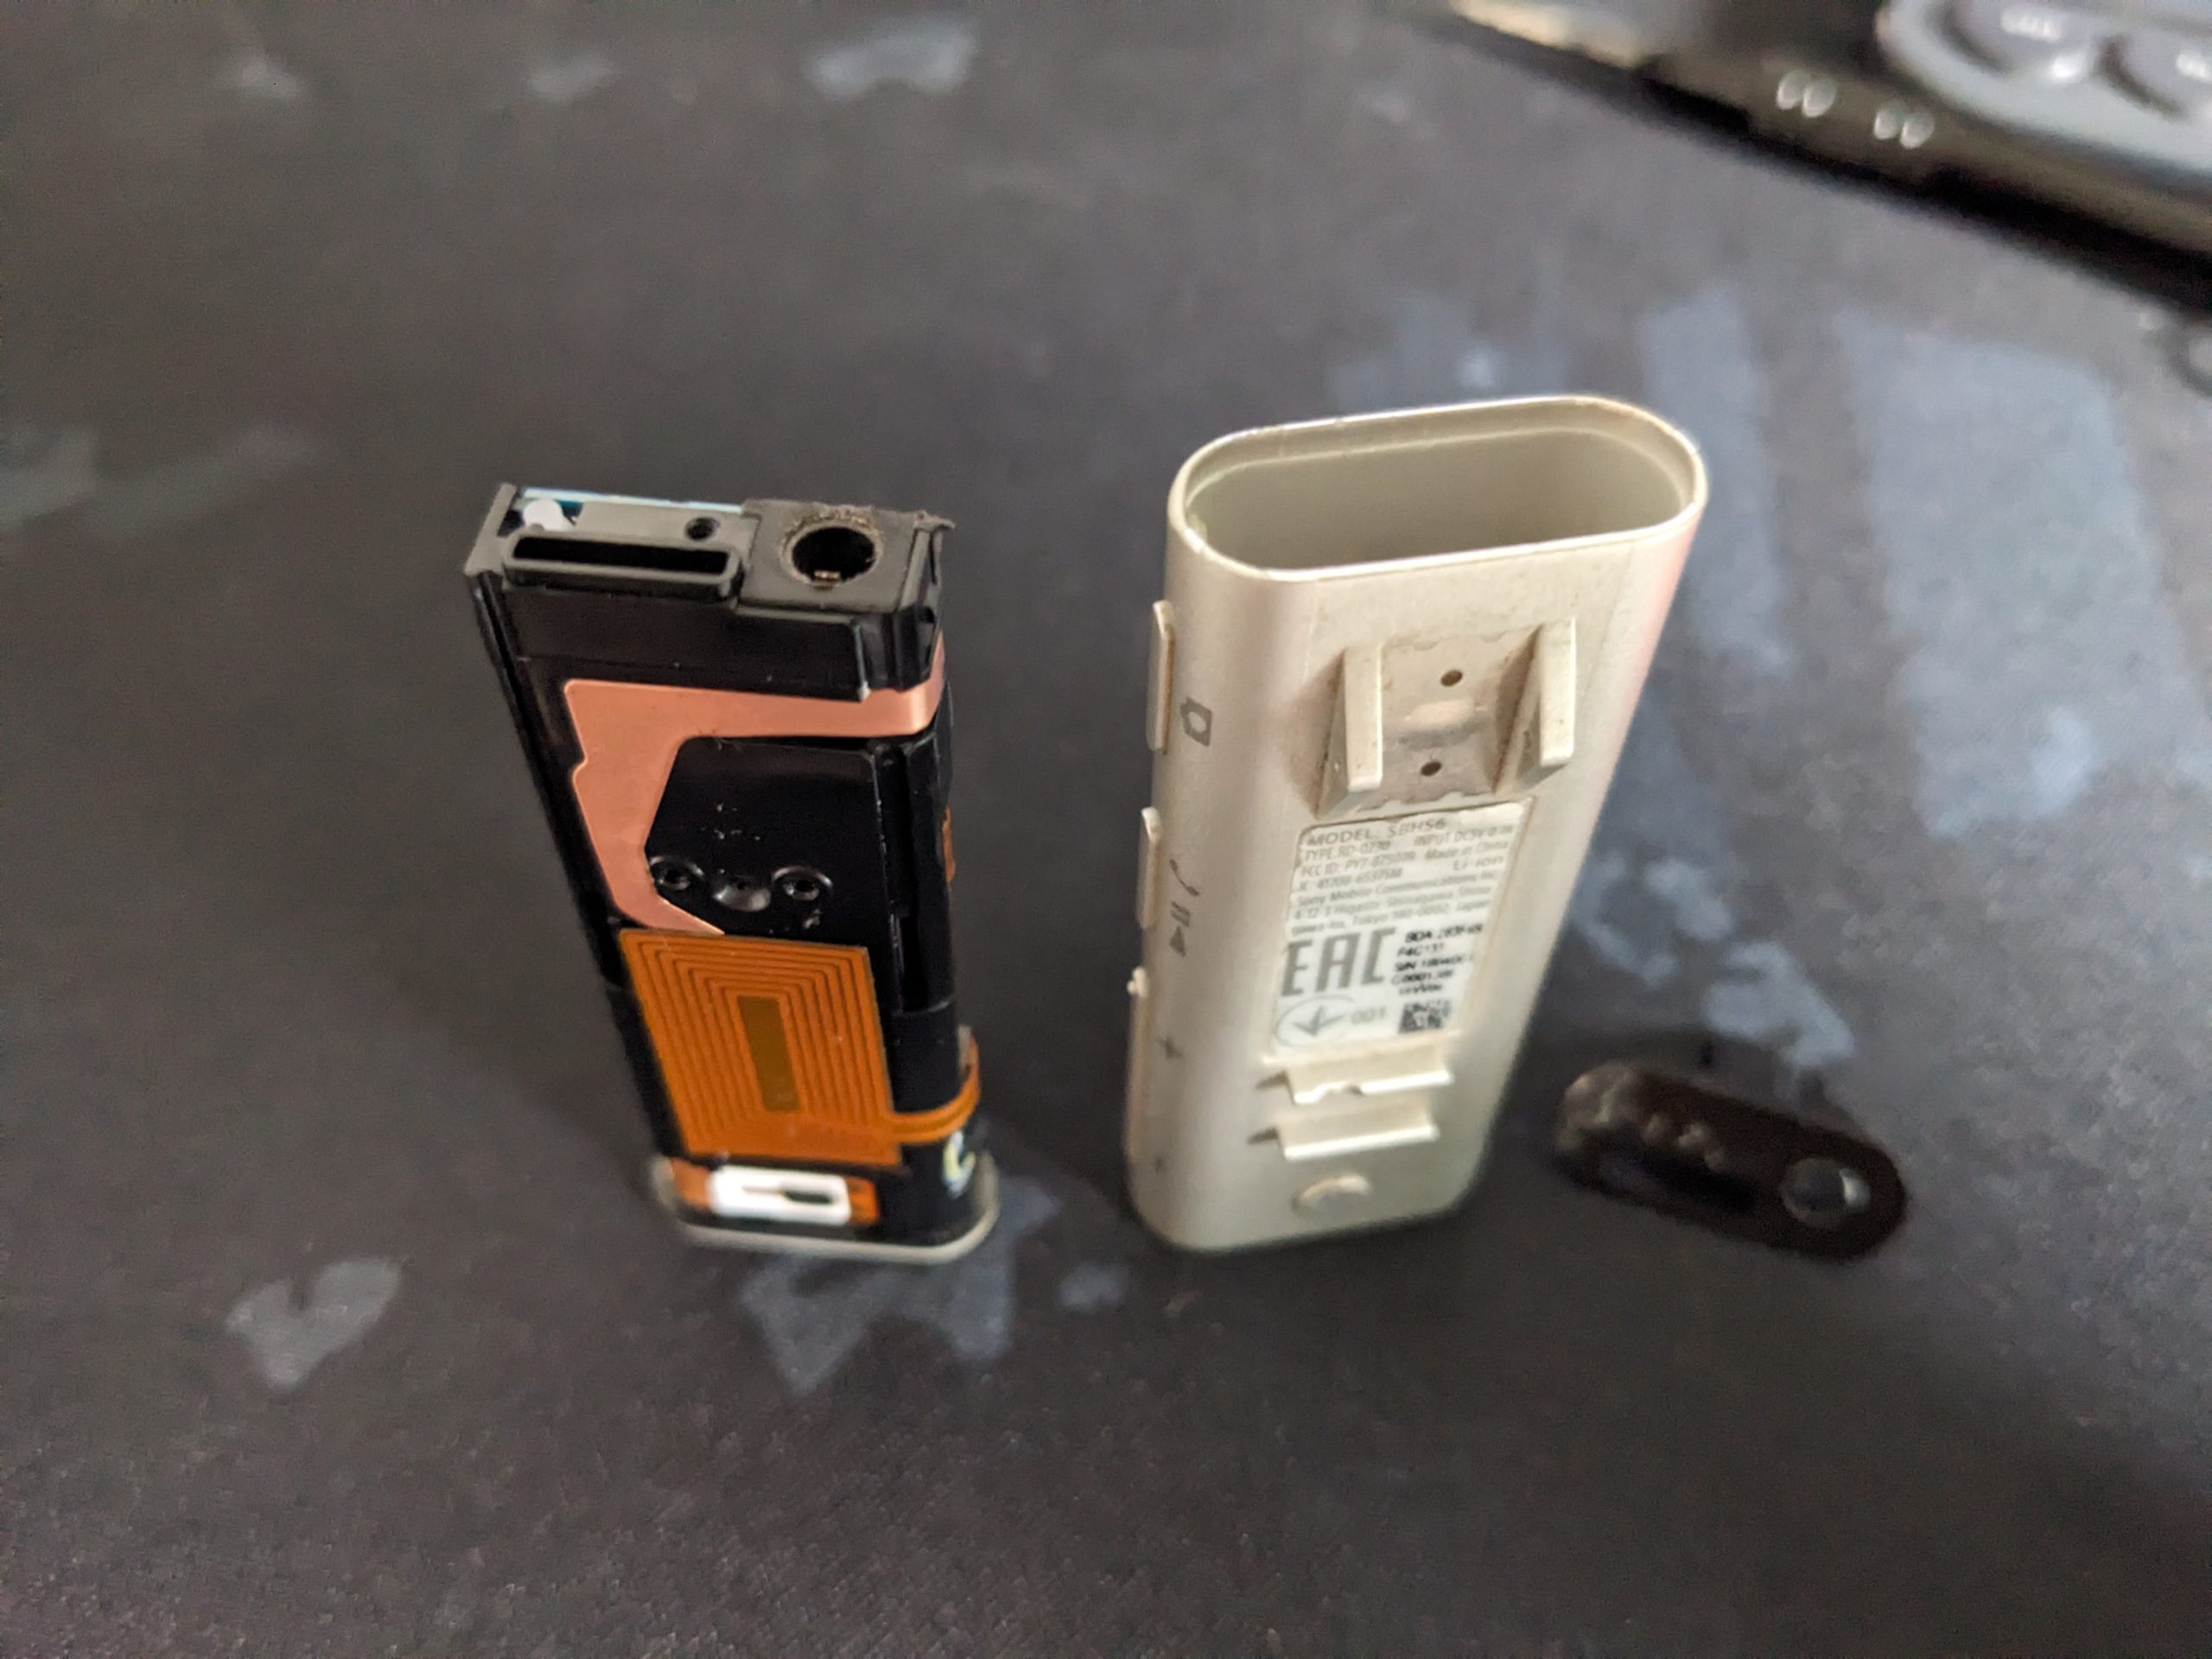
After disassembling the Sony SBH56 Bluetooth Headset, we’ll find a machine with a Golden color antenna, NFC coil, and a few buttons. There are more screws. Those screws can be removed to replace the battery or any bad parts.
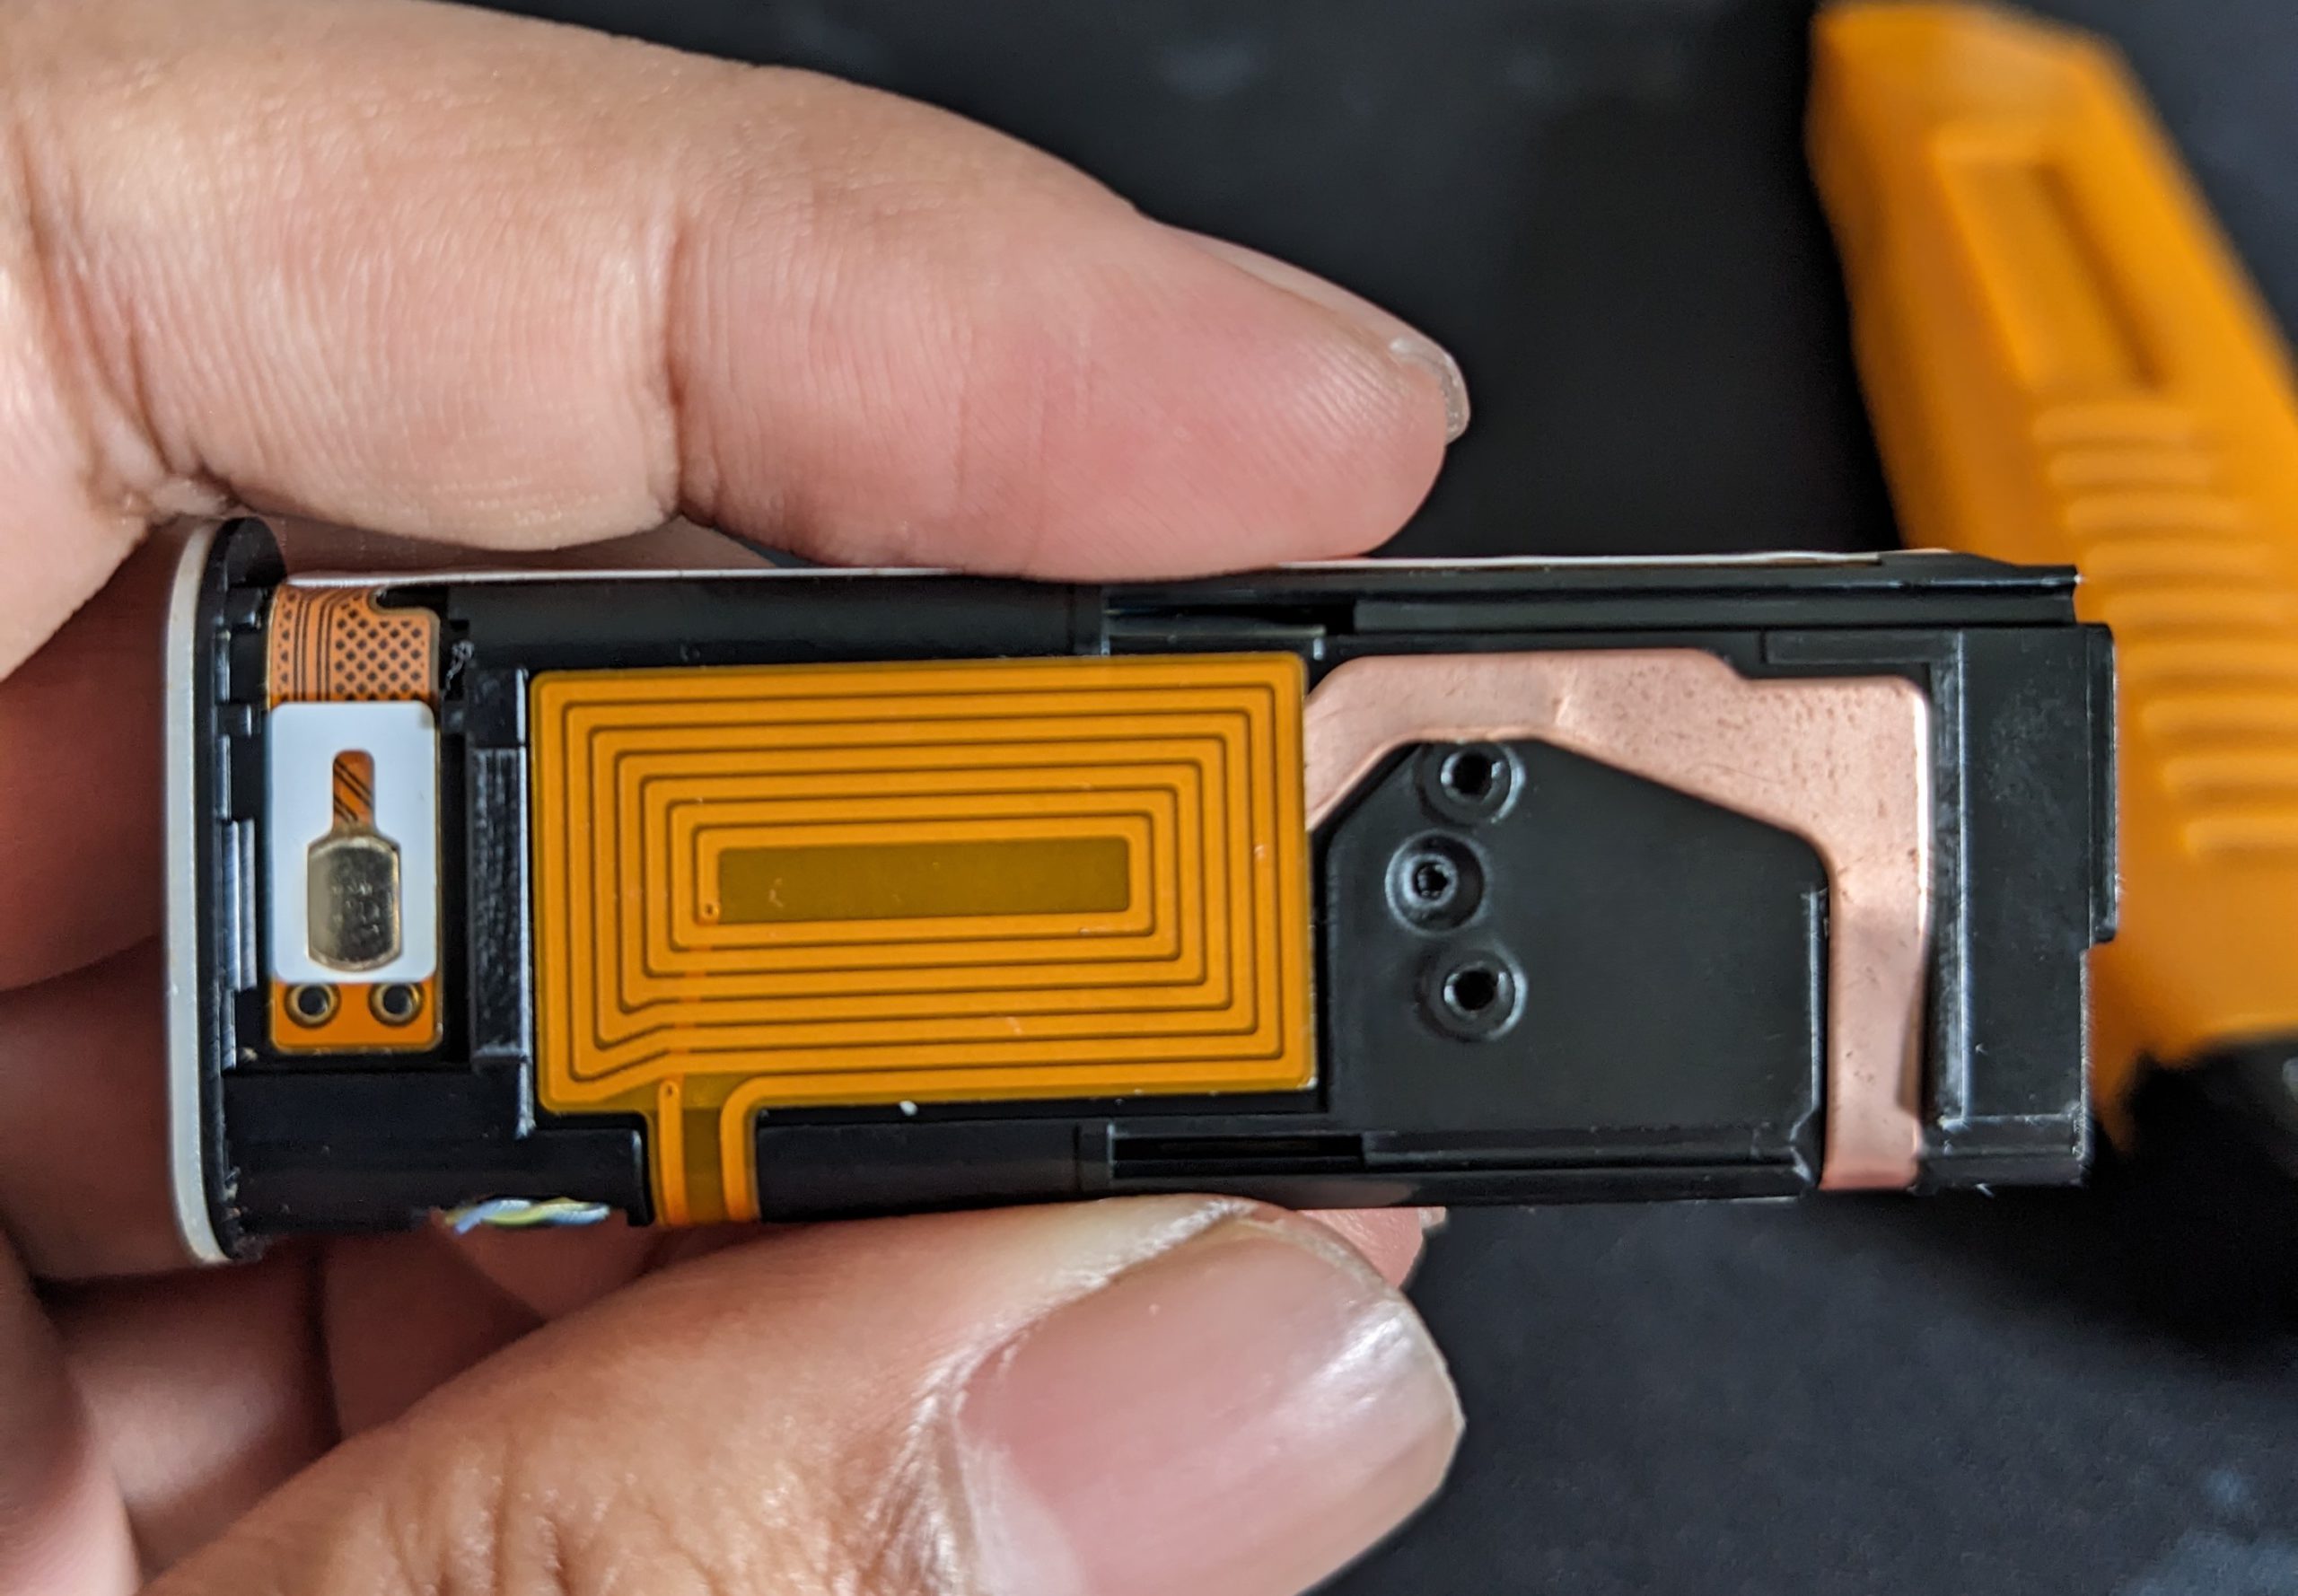
Let’s look closer, it’s a shiny NFC coil with a golden antina and a button.
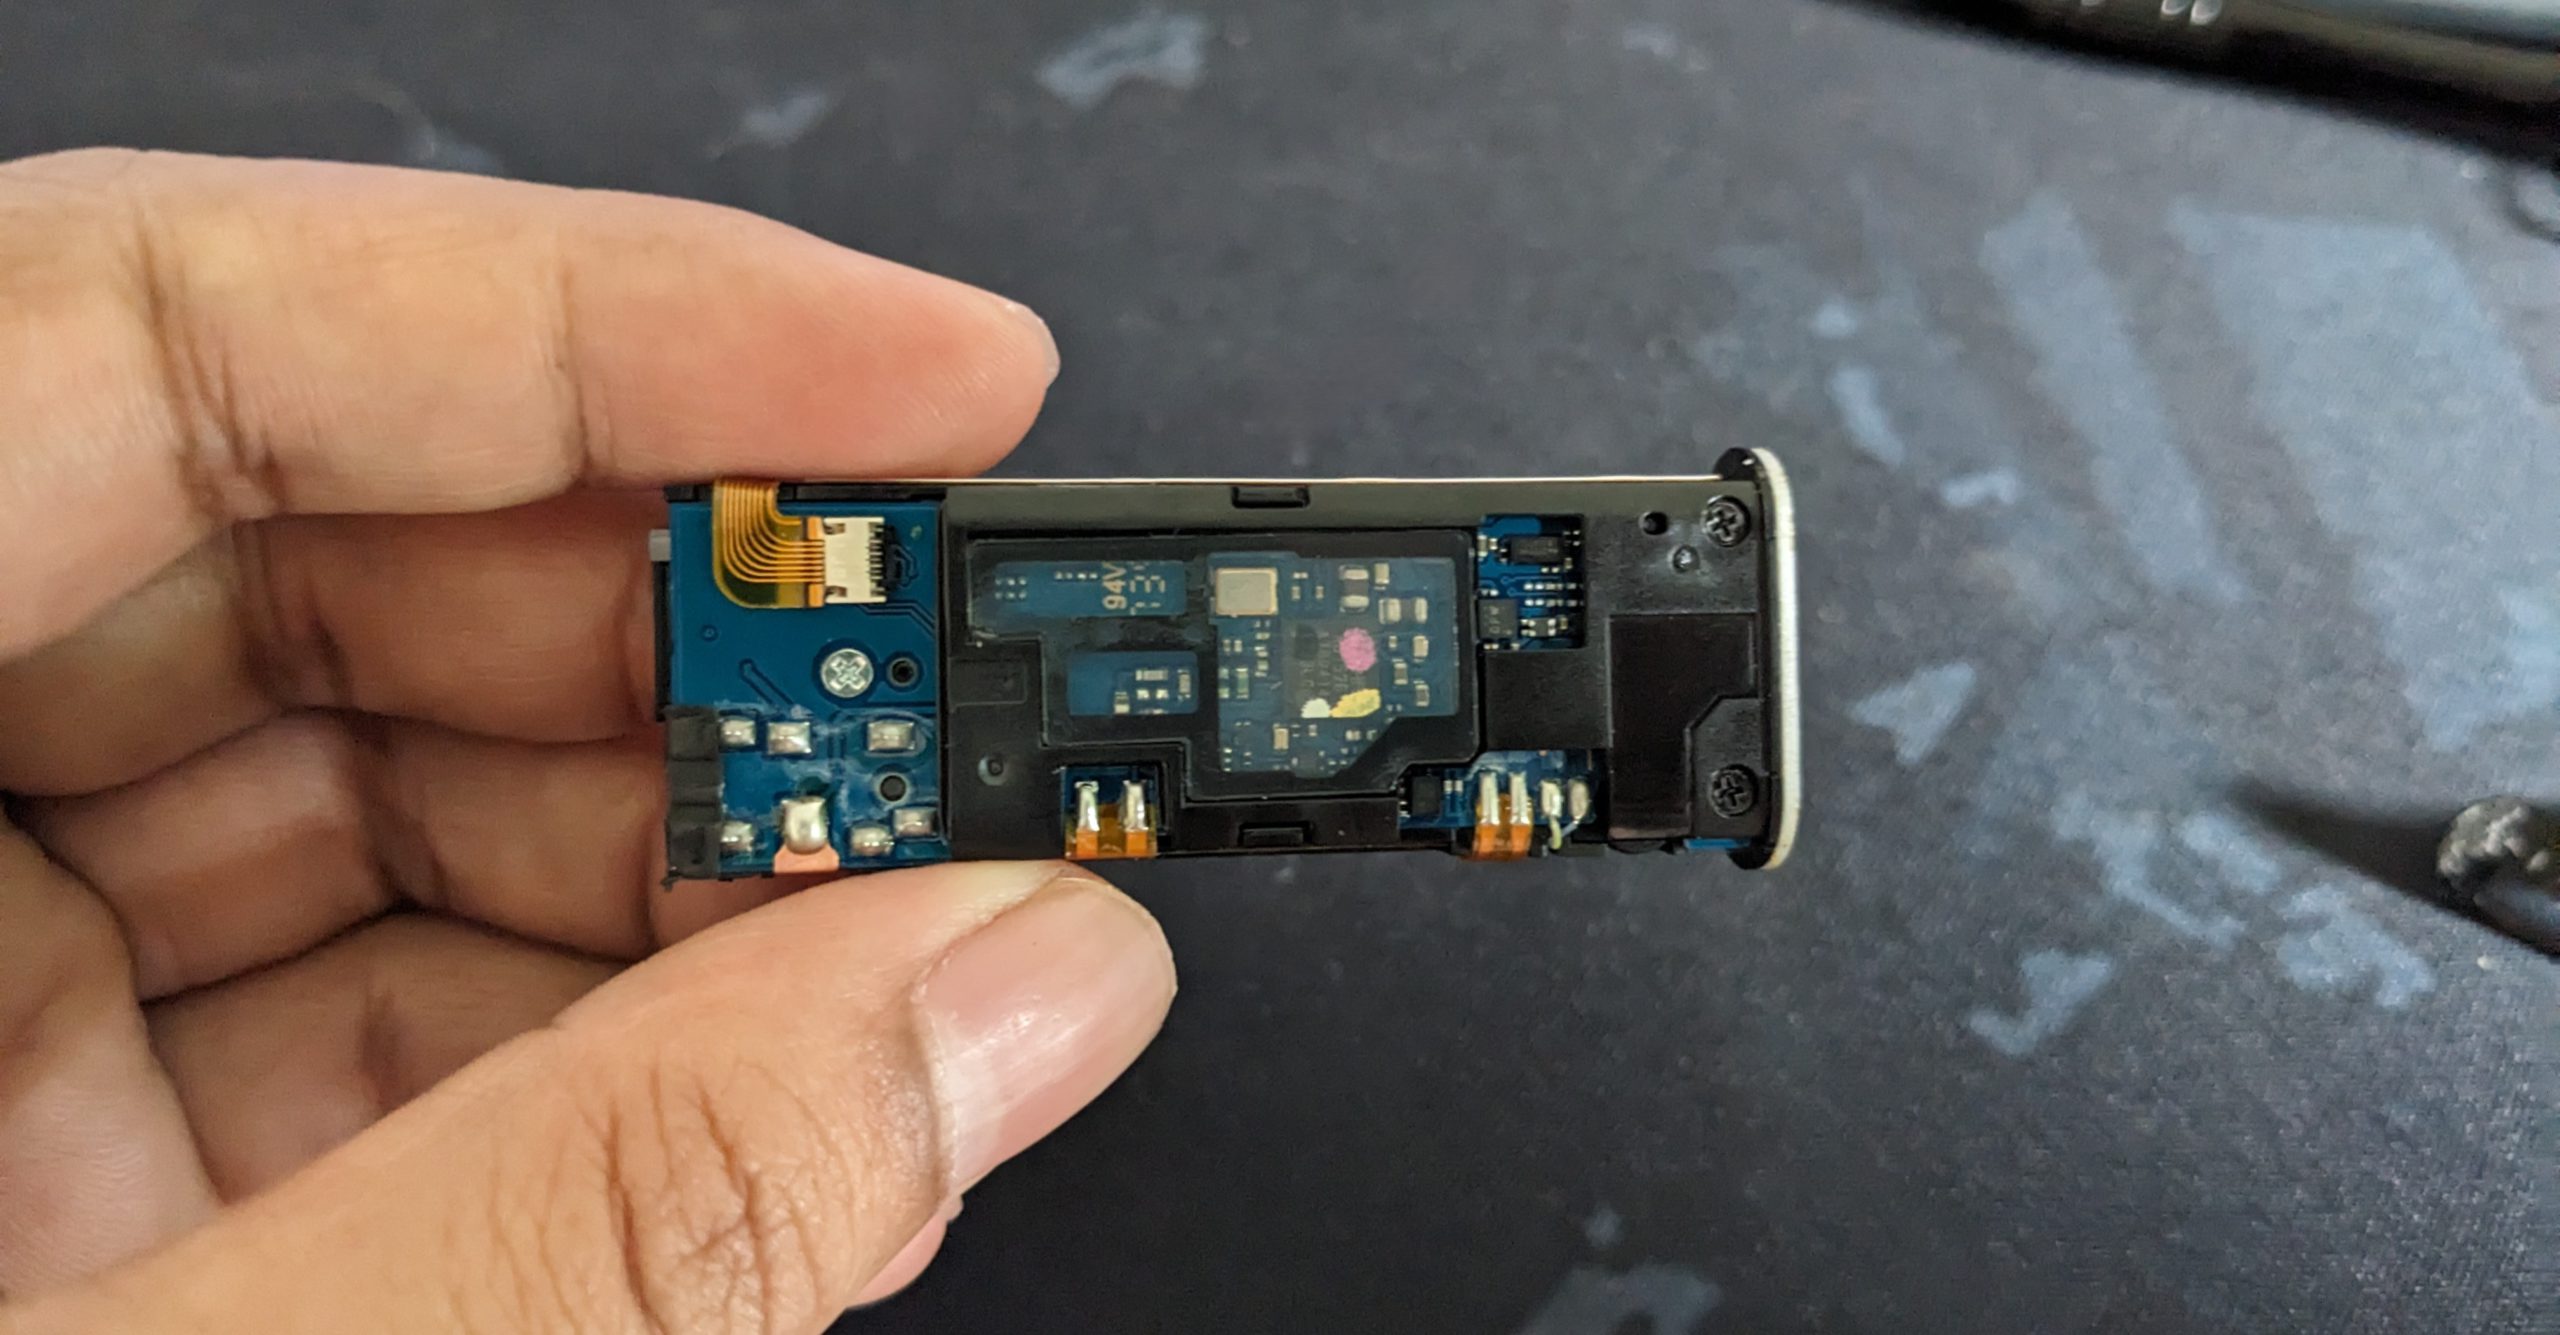
On the opposite side, we can see the main chip with connectors, a microphone, a speaker, and many registers and capacitors. The NFC connector is connected with a clip, whereas other connections are attached to the soldering with the main board. There are two more black screws; by removing these, the whole board can be disclosed.
Let’s look closer.
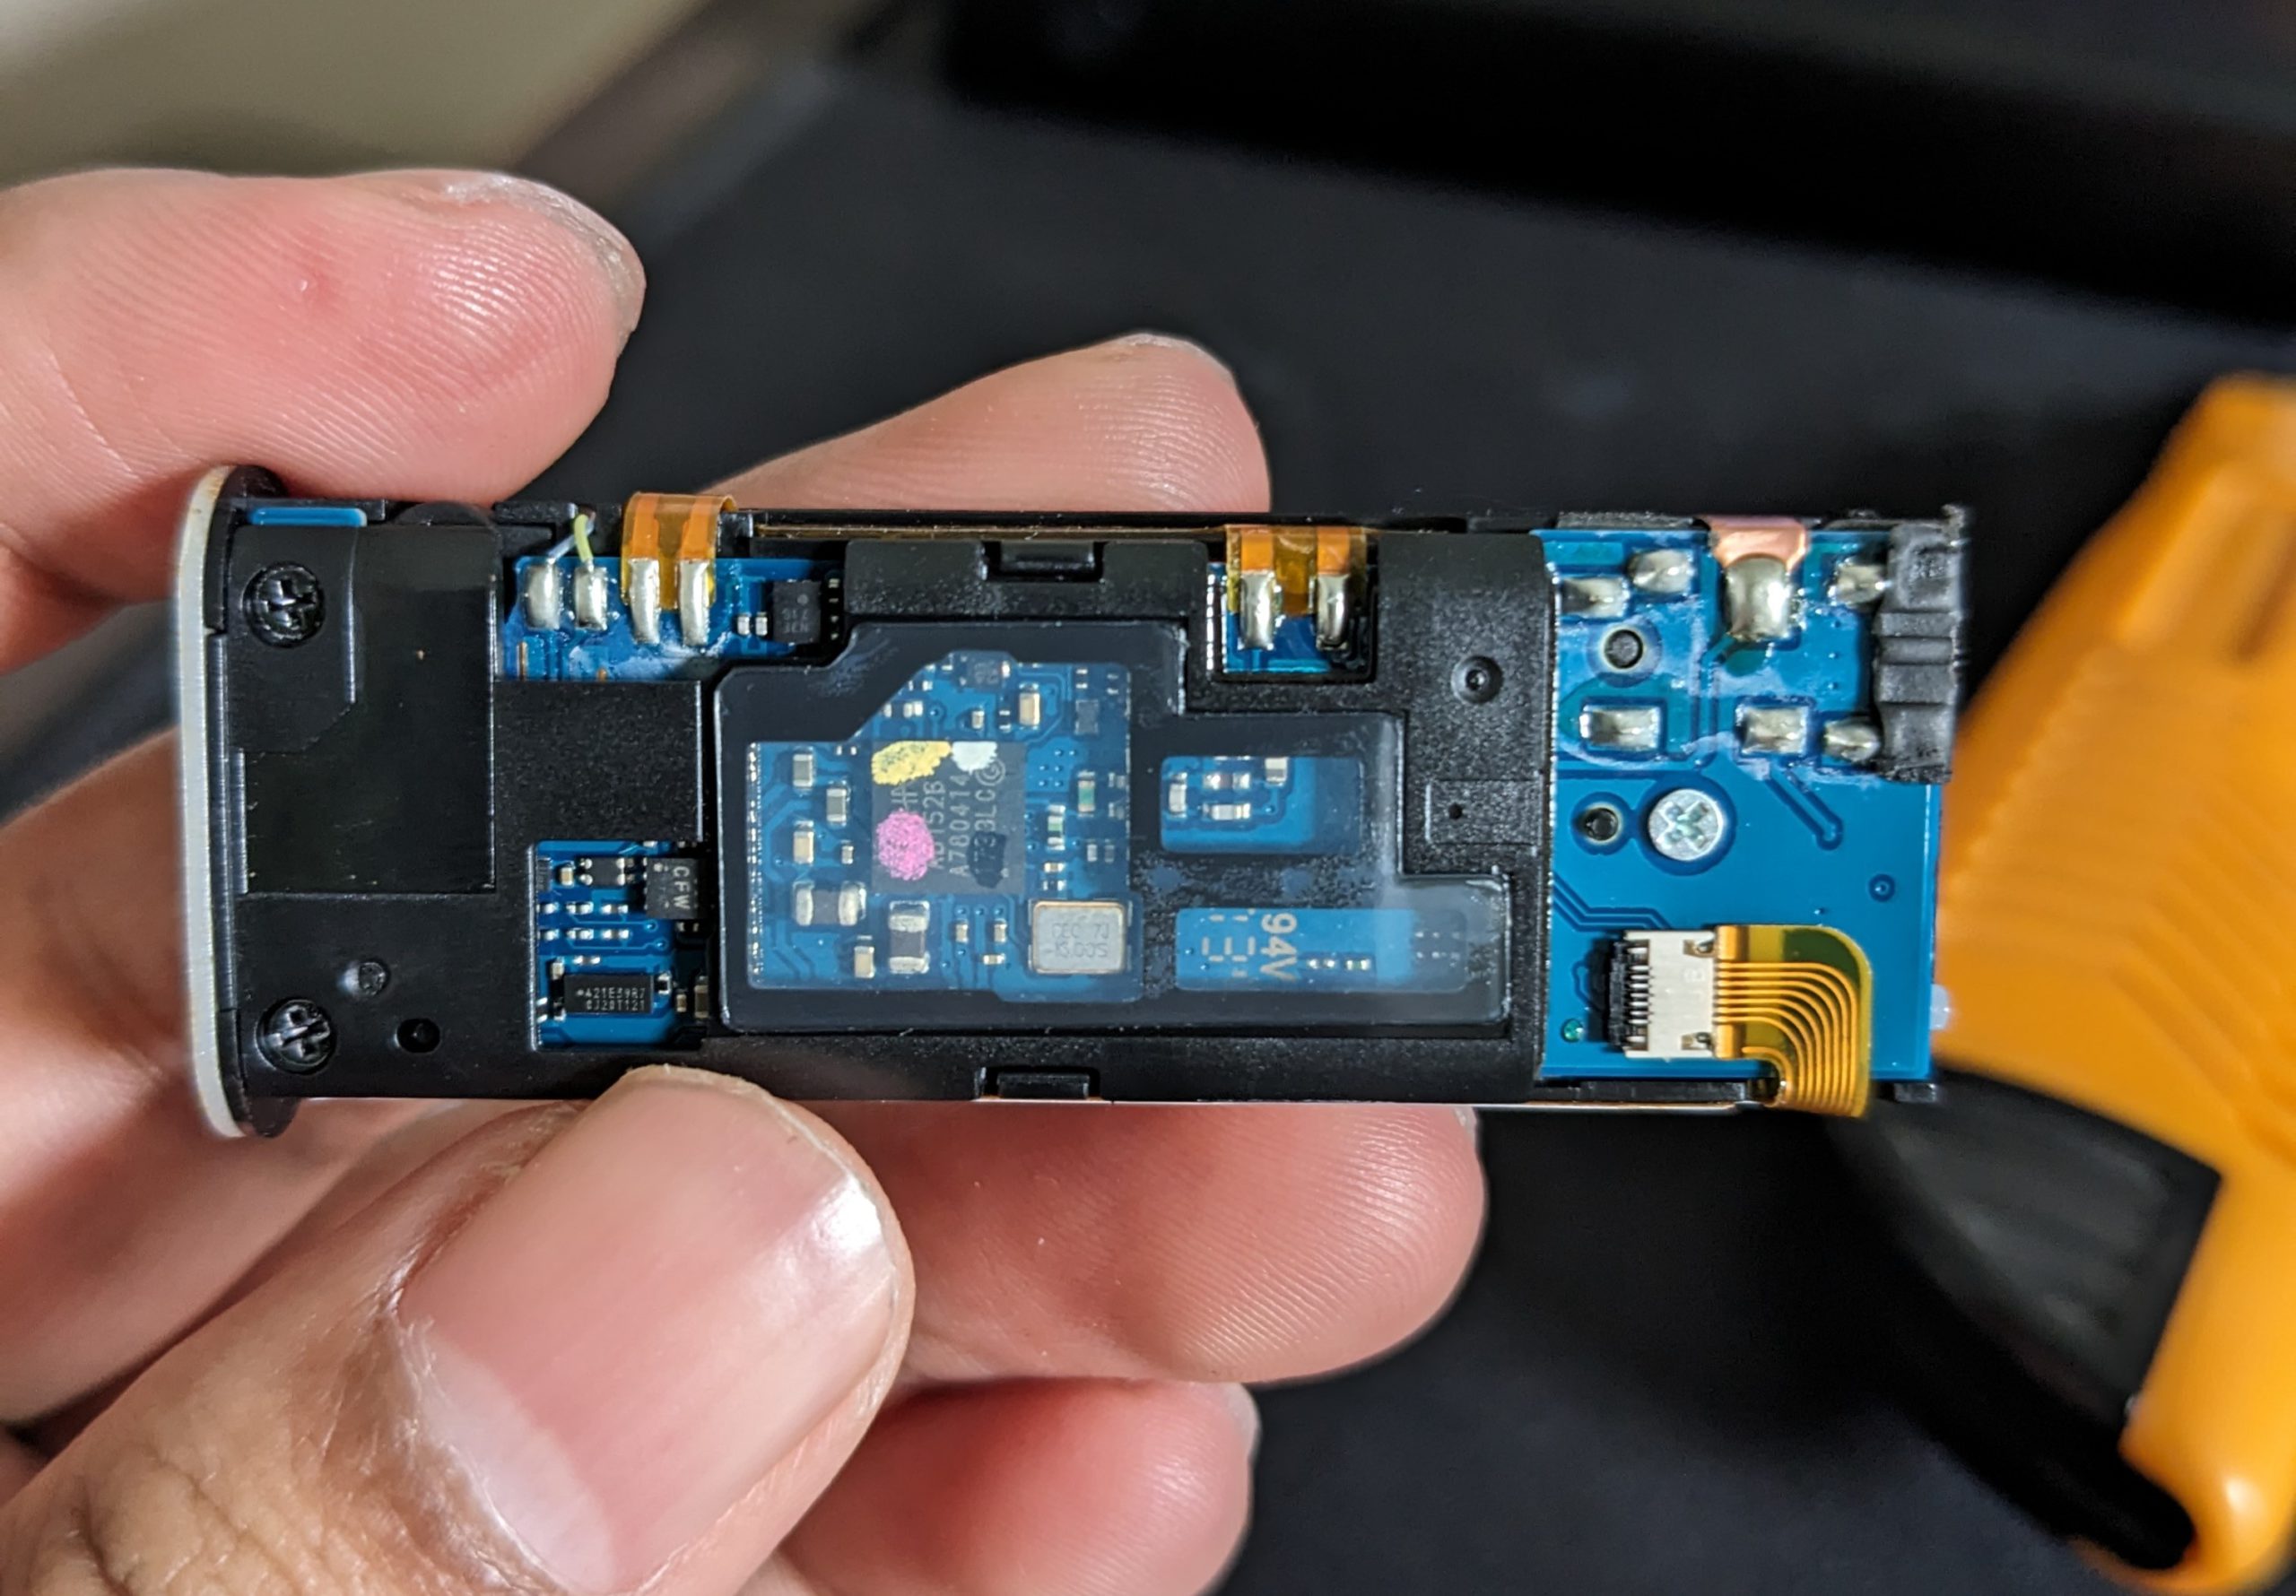
A close look at the circuit board
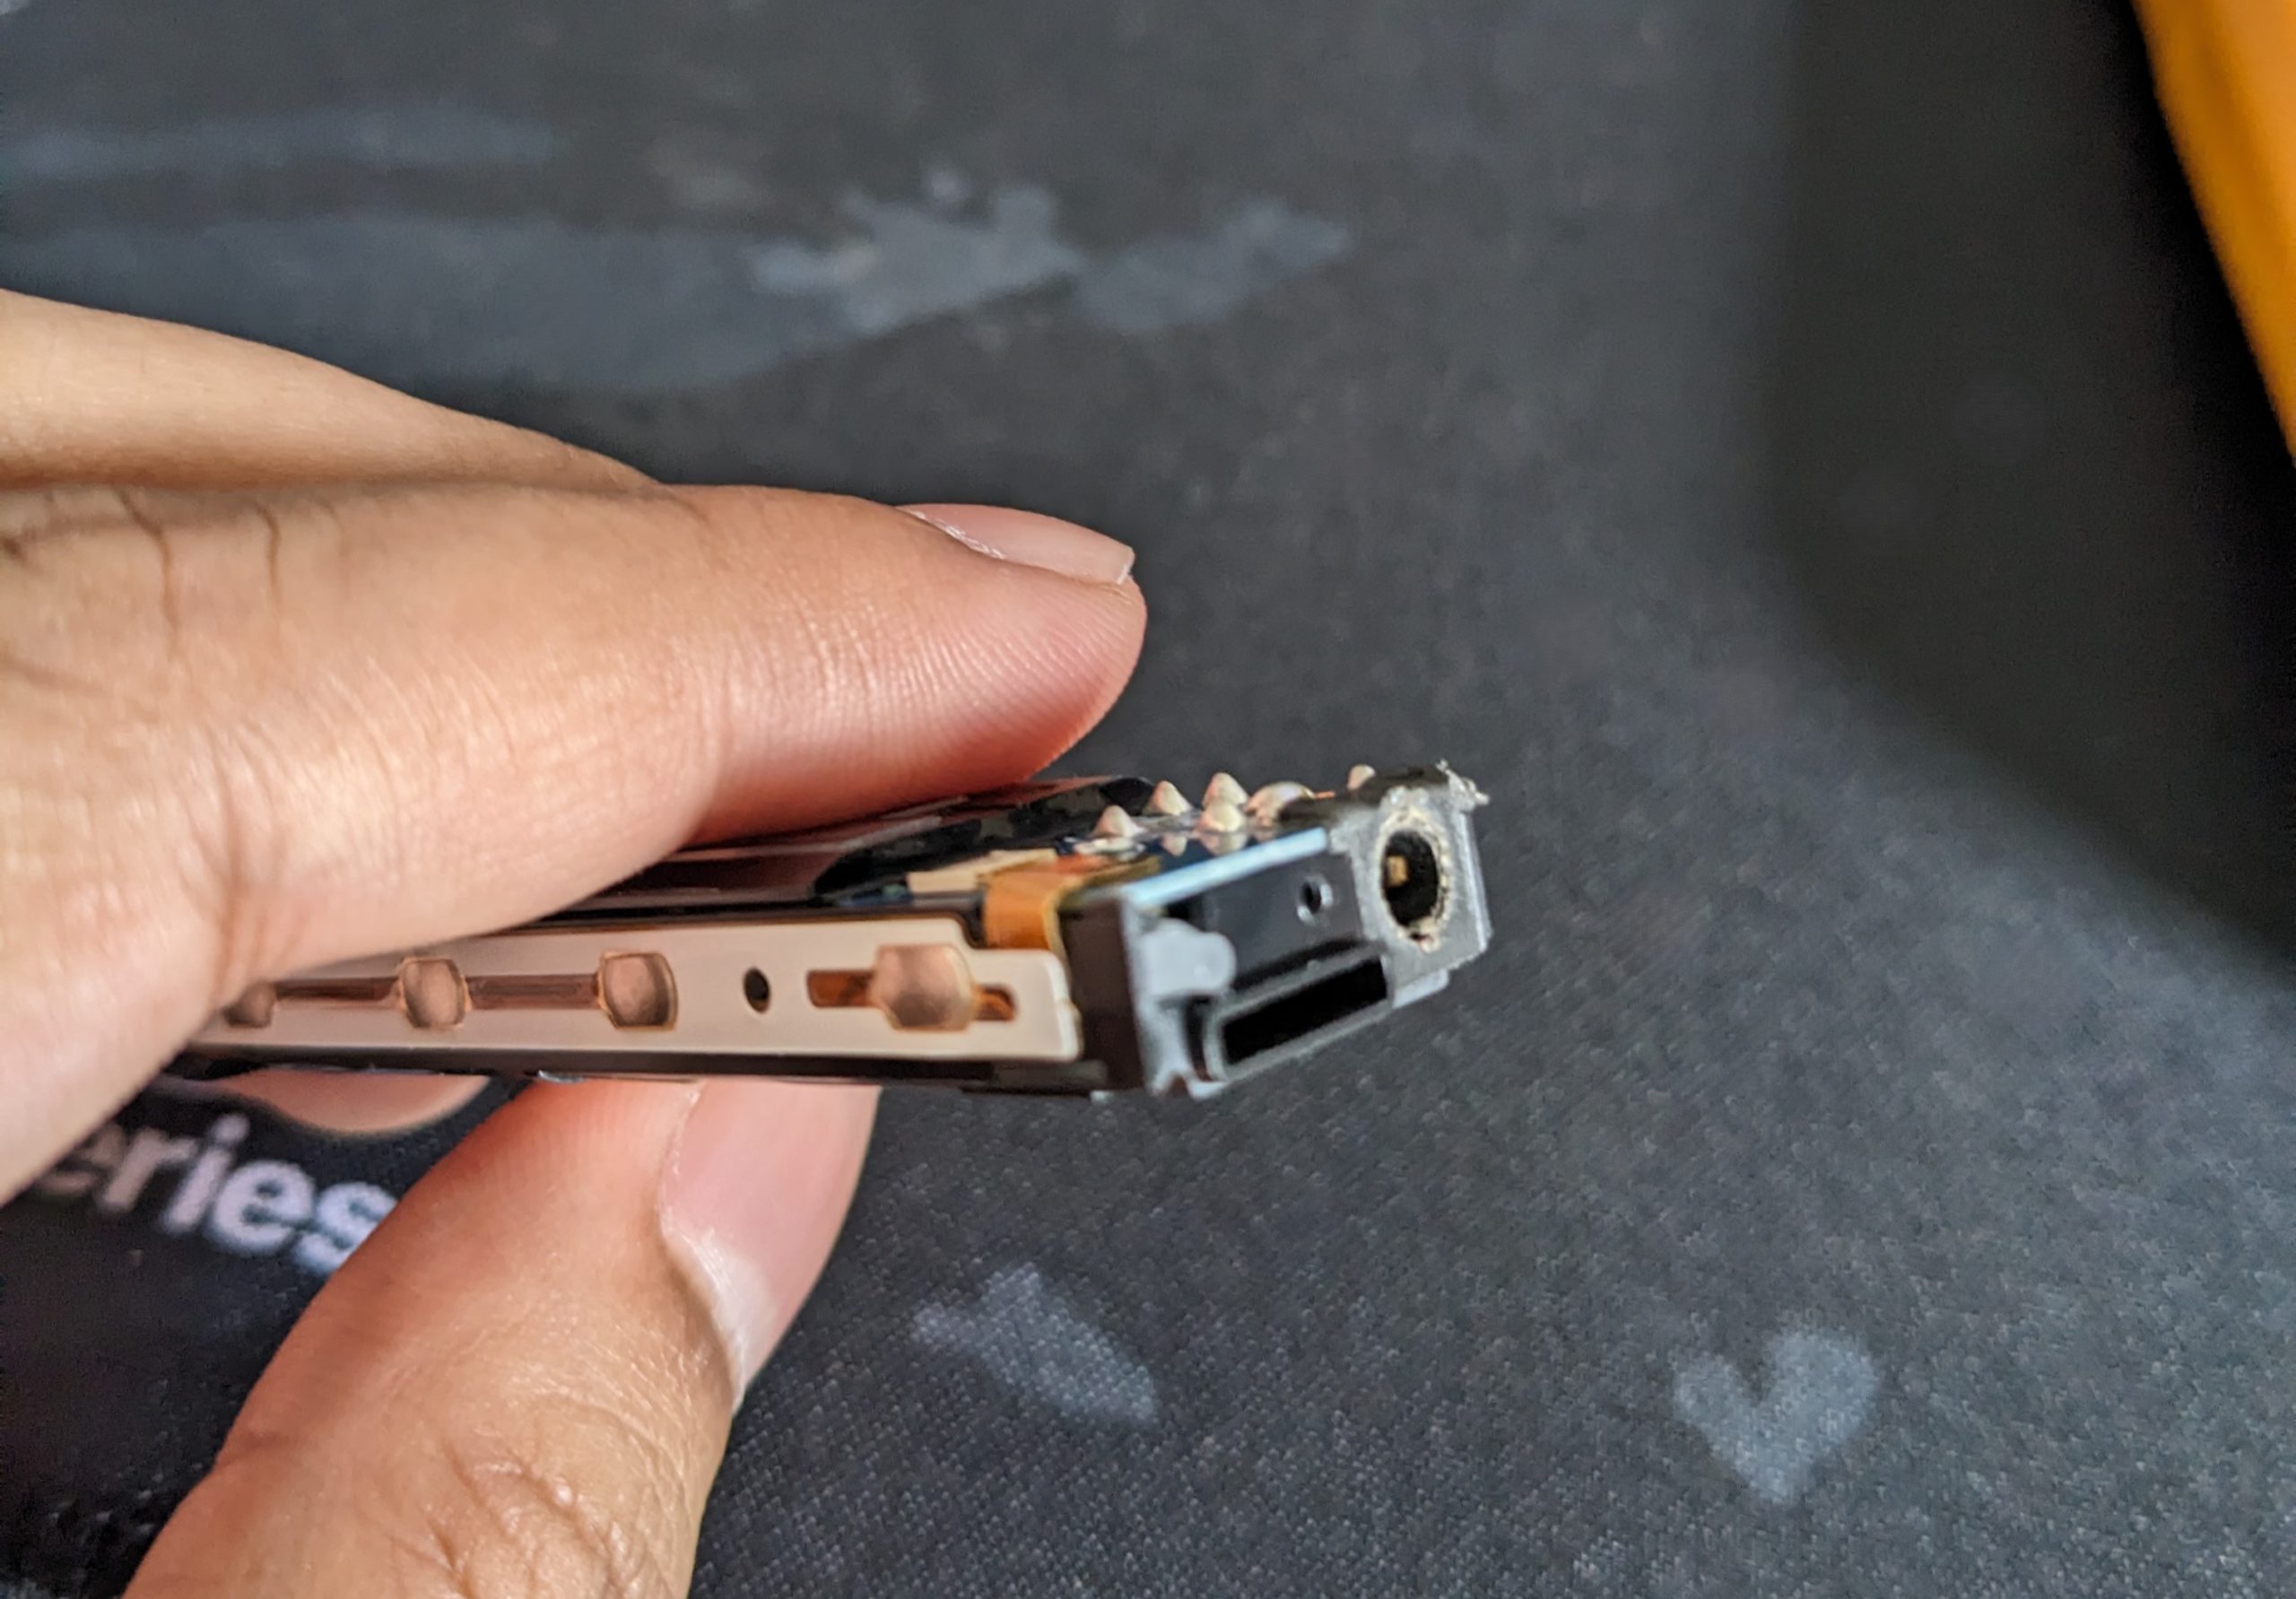
Buttons, 3.5 mm Jack, microphone and speaker
That’s all for today! I love disassembling electronic devices. This article is based on the SBH56 Disassembly Process, which is a small effort from me. I searched Google and YouTube to find out the proper process. However, I didn’t find the appropriate instructions. I introduced myself to some people in some community groups who destroyed their devices because they did not know the full process. So, I decided to publish this as an article and here it is.


0 Comments